

Pick Your Team CMS Guide
Pick Your Team is a strategic game where users select players to create their ideal sports team. The game features include Strategic team building with players making thoughtful choices about team composition, and Customizable theming to match your brand identity
Pick Your Team is available in the experiences list once you login and choose your application.
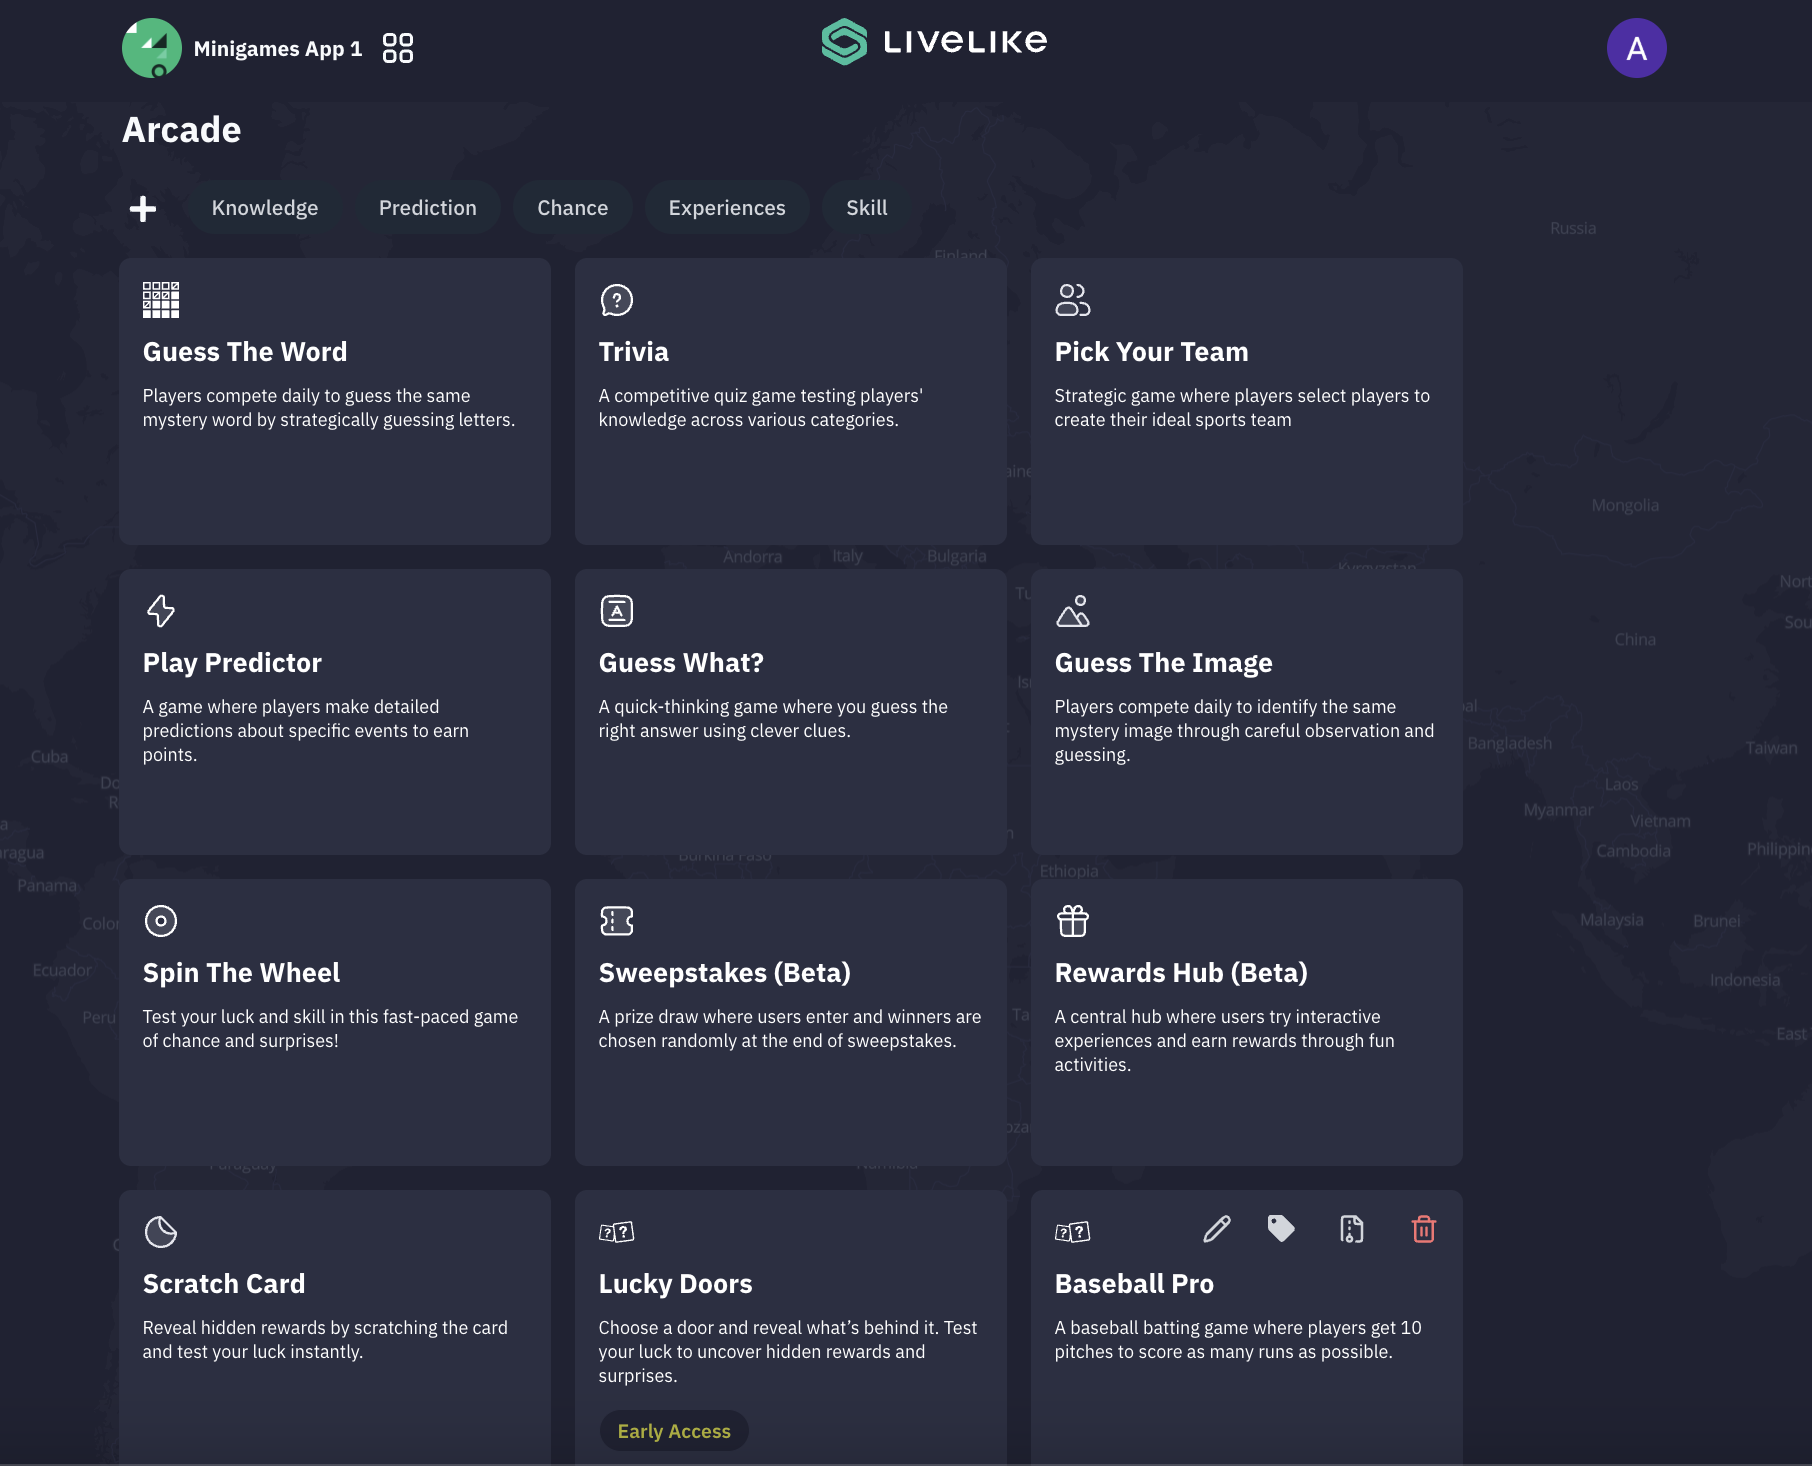
To begin, either select an existing game or click "Create New" to start fresh. The setup process consists of 6 key steps.
- Welcome Screen
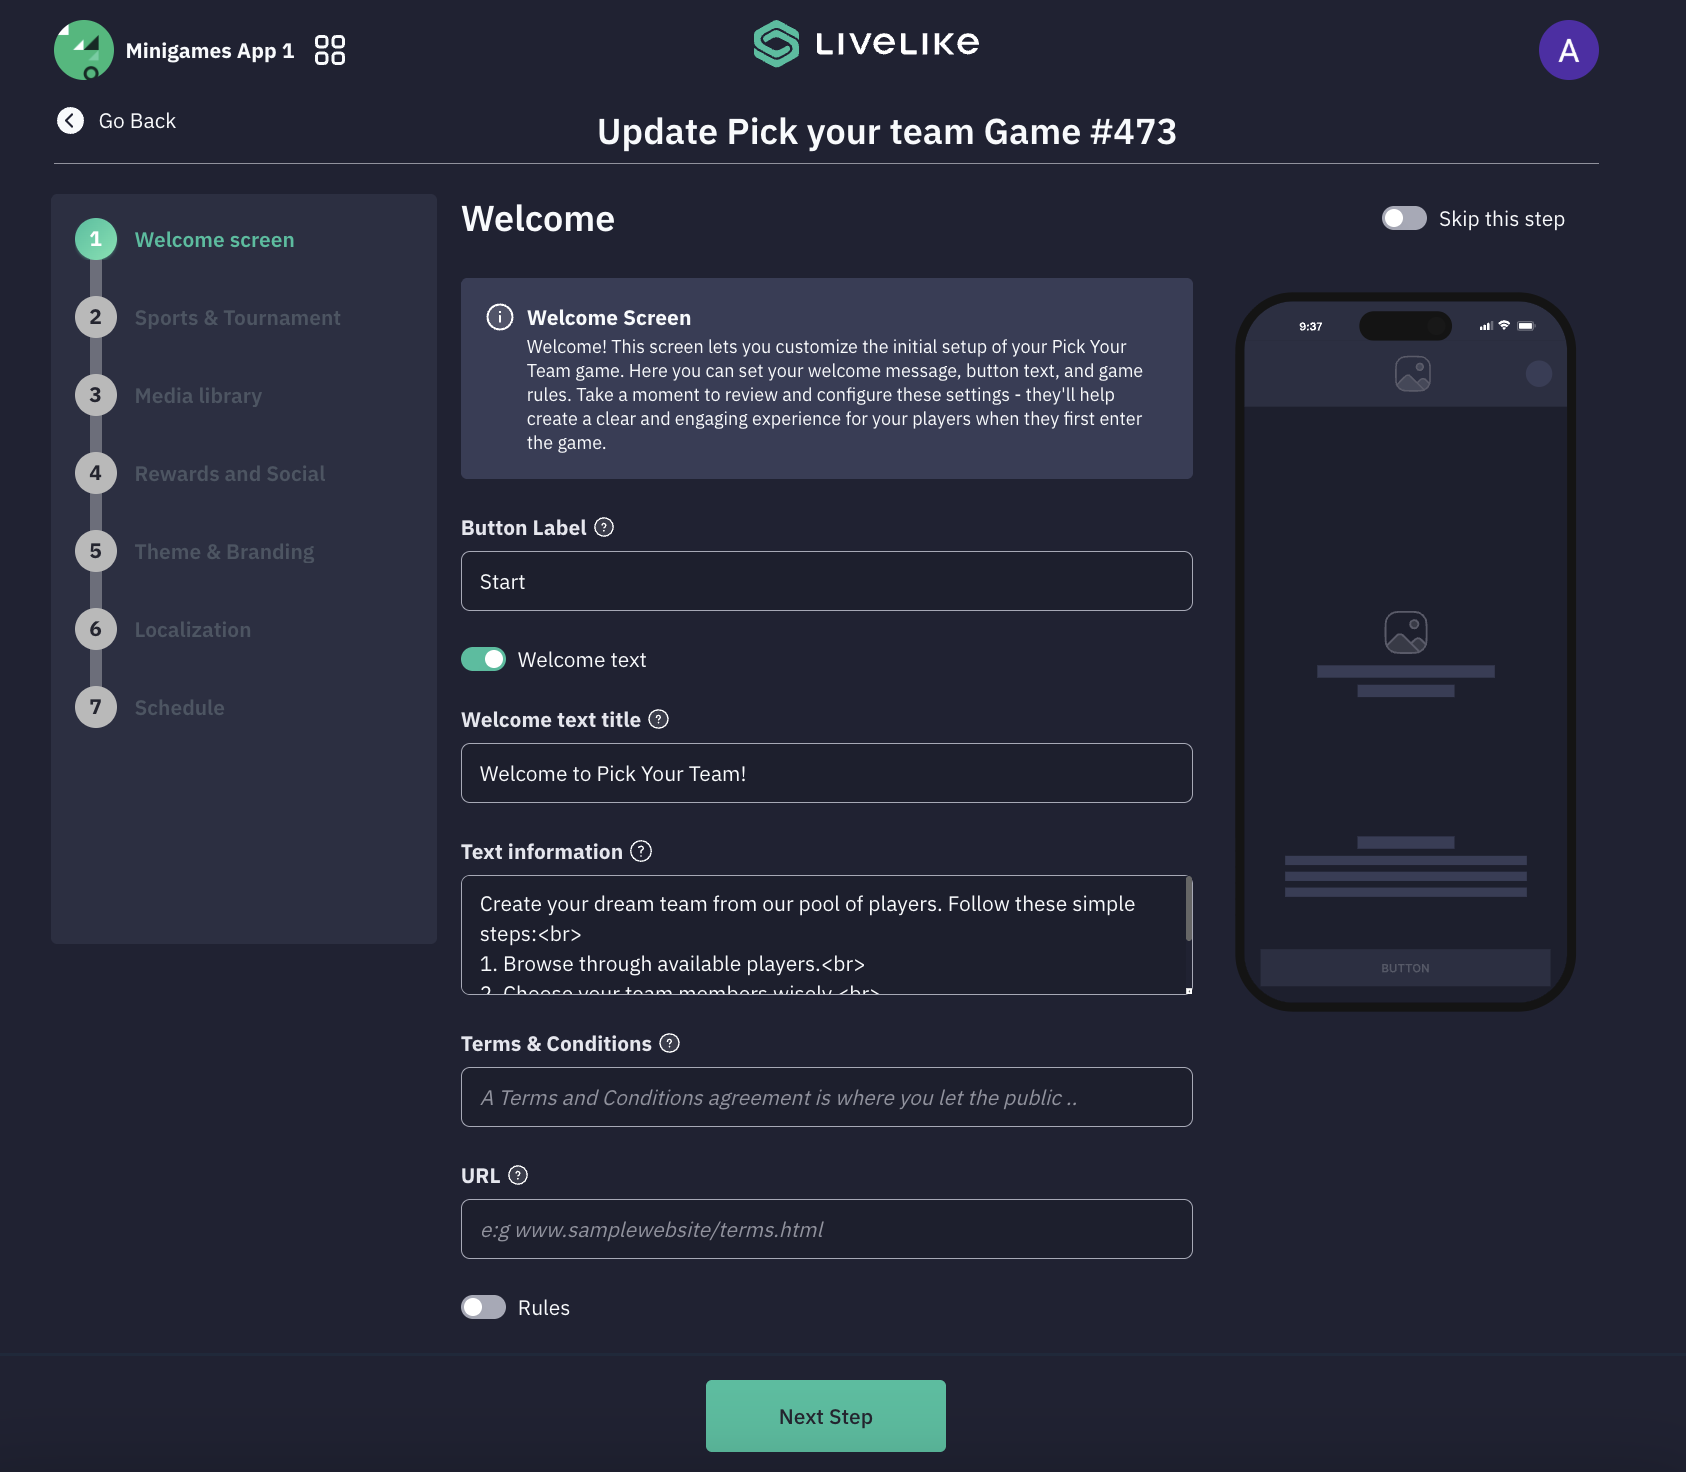
This is the initial configuration page where you set up the player's first interaction with the Pick Your Team game. Here you can customize the initial setup and welcome experience for your players when they first enter the game.- Welcome Screen Configuration:
- Button Label
- Customize the start button text
- Default value: "Start"
- This is the button players will click to begin team selection
- Button Label
- Welcome Text
- Set the main welcome message
- Example: "Welcome to Pick Your Team!"
- Keep it brief and engaging
- Text Information
- Add detailed instructions for players
- Include step-by-step guidance
- Terms & Conditions
- Add your terms and conditions text
- Example URL format: www.samplewebsite/terms.html
- Rules Section
- Toggle to enable/disable rules display
- Set a custom rules title (e.g., "Team Selection Rules")
- Add specific game rules in the Rules Information field
- Common rules examples:
- Each player can only be selected once
- No changes allowed after team confirmation
- Welcome Screen Configuration:
-
Sports and Tournaments:
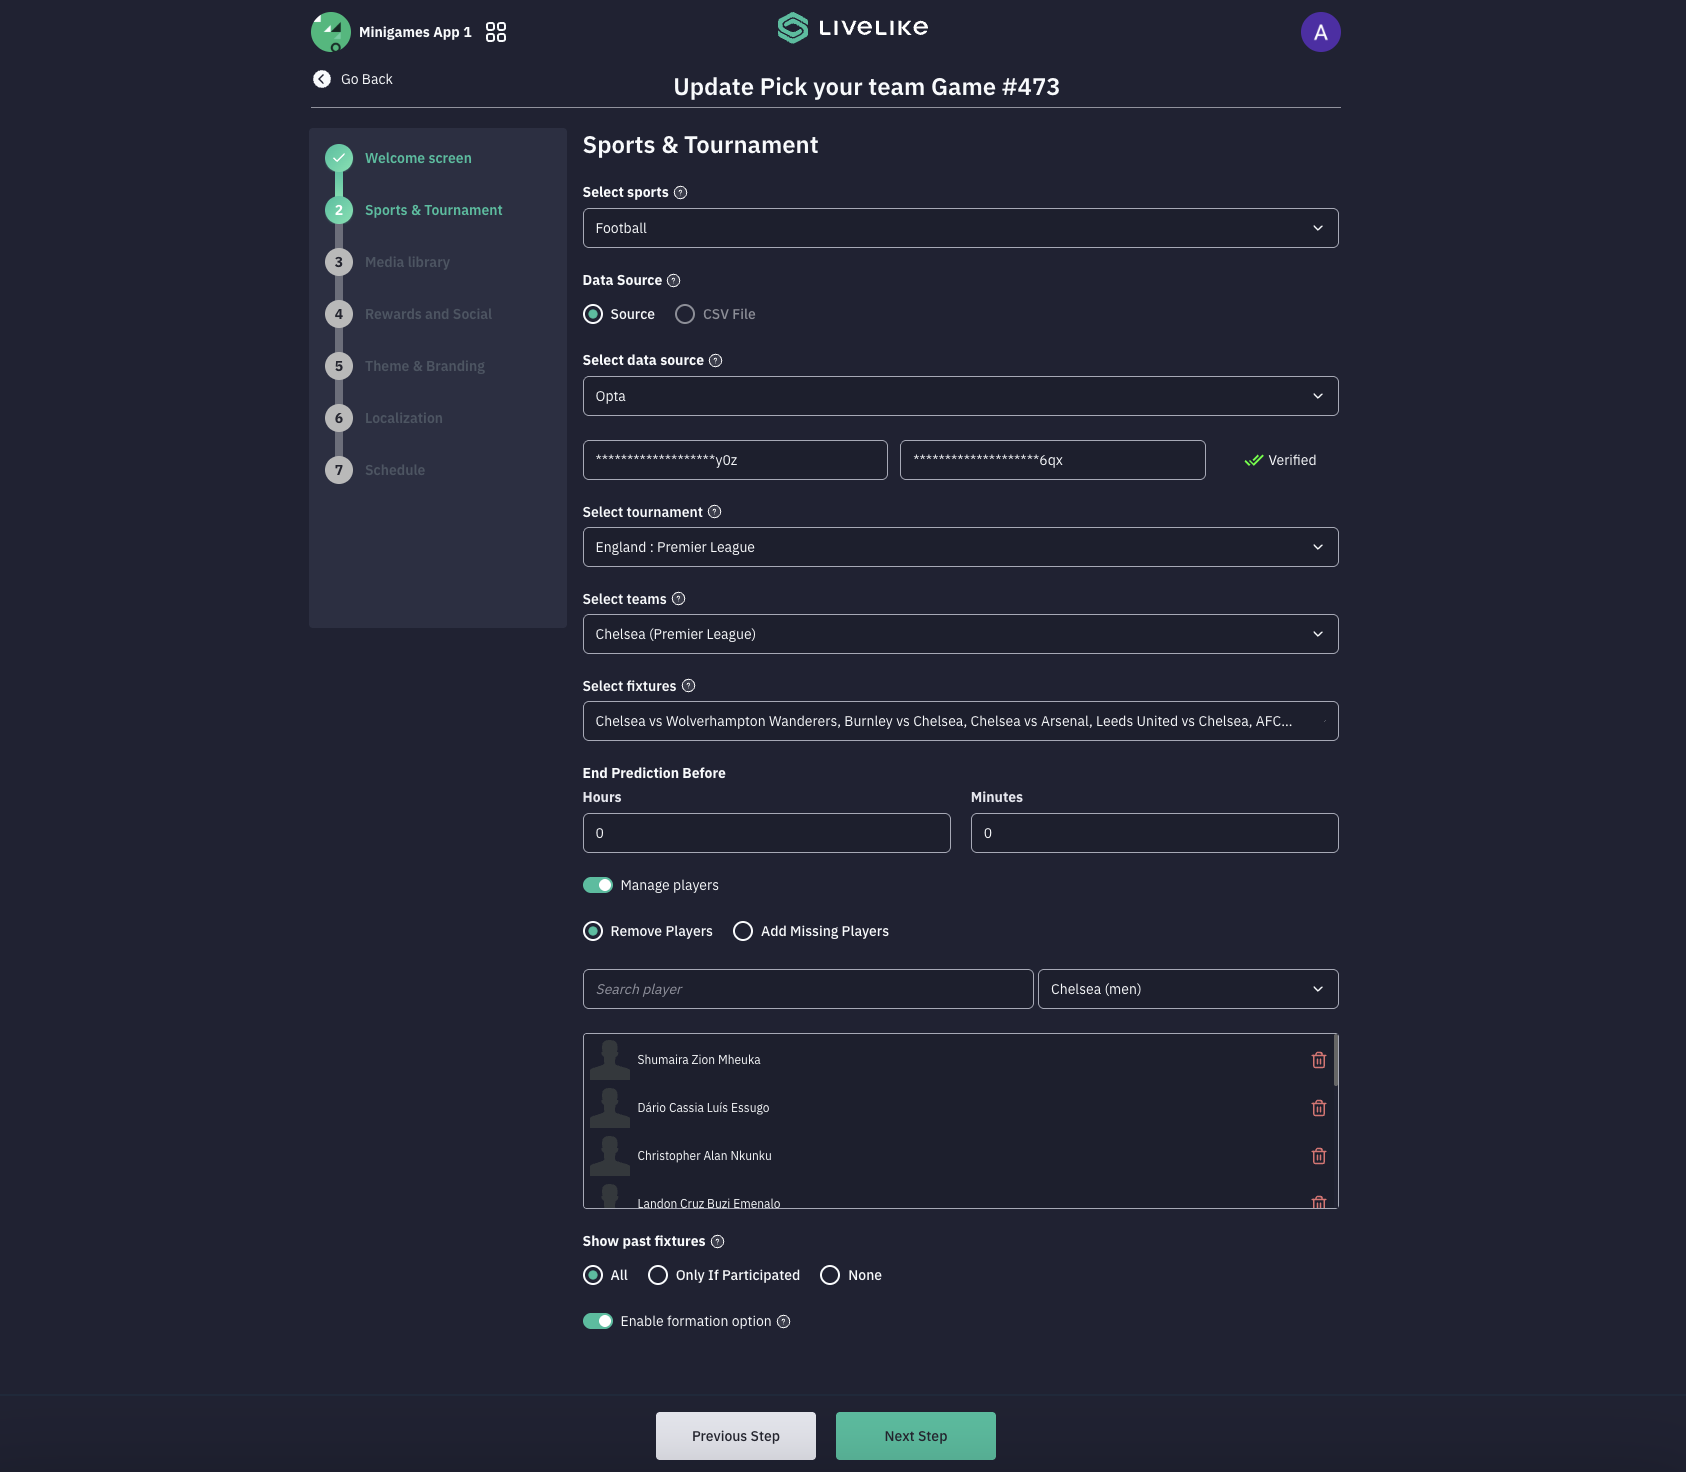
This section allows you to set up the core elements of your Pick Your Team game by configuring the sport, data source, and tournament settings.- Sport Selection: Choose the sport for your game (e.g., Football). This determines the available tournaments and team options.
- Data Source Configuration: Two options for adding player and team data:
- Source Integration
- CSV File Upload (coming soon)
- Tournament Setup
- Select a specific tournament (e.g., UEFA Champions League)
- Choose participating teams from the tournament
- Select relevant fixtures/matches
- Select game type
- Same team: Users can only pick players from one team
- All teams: Users can pick players from any participating team
- Key Considerations:
- Ensure data source credentials are valid
- Verify that all selected teams have complete player data
- Check fixture dates align with your game schedule
- Media Library
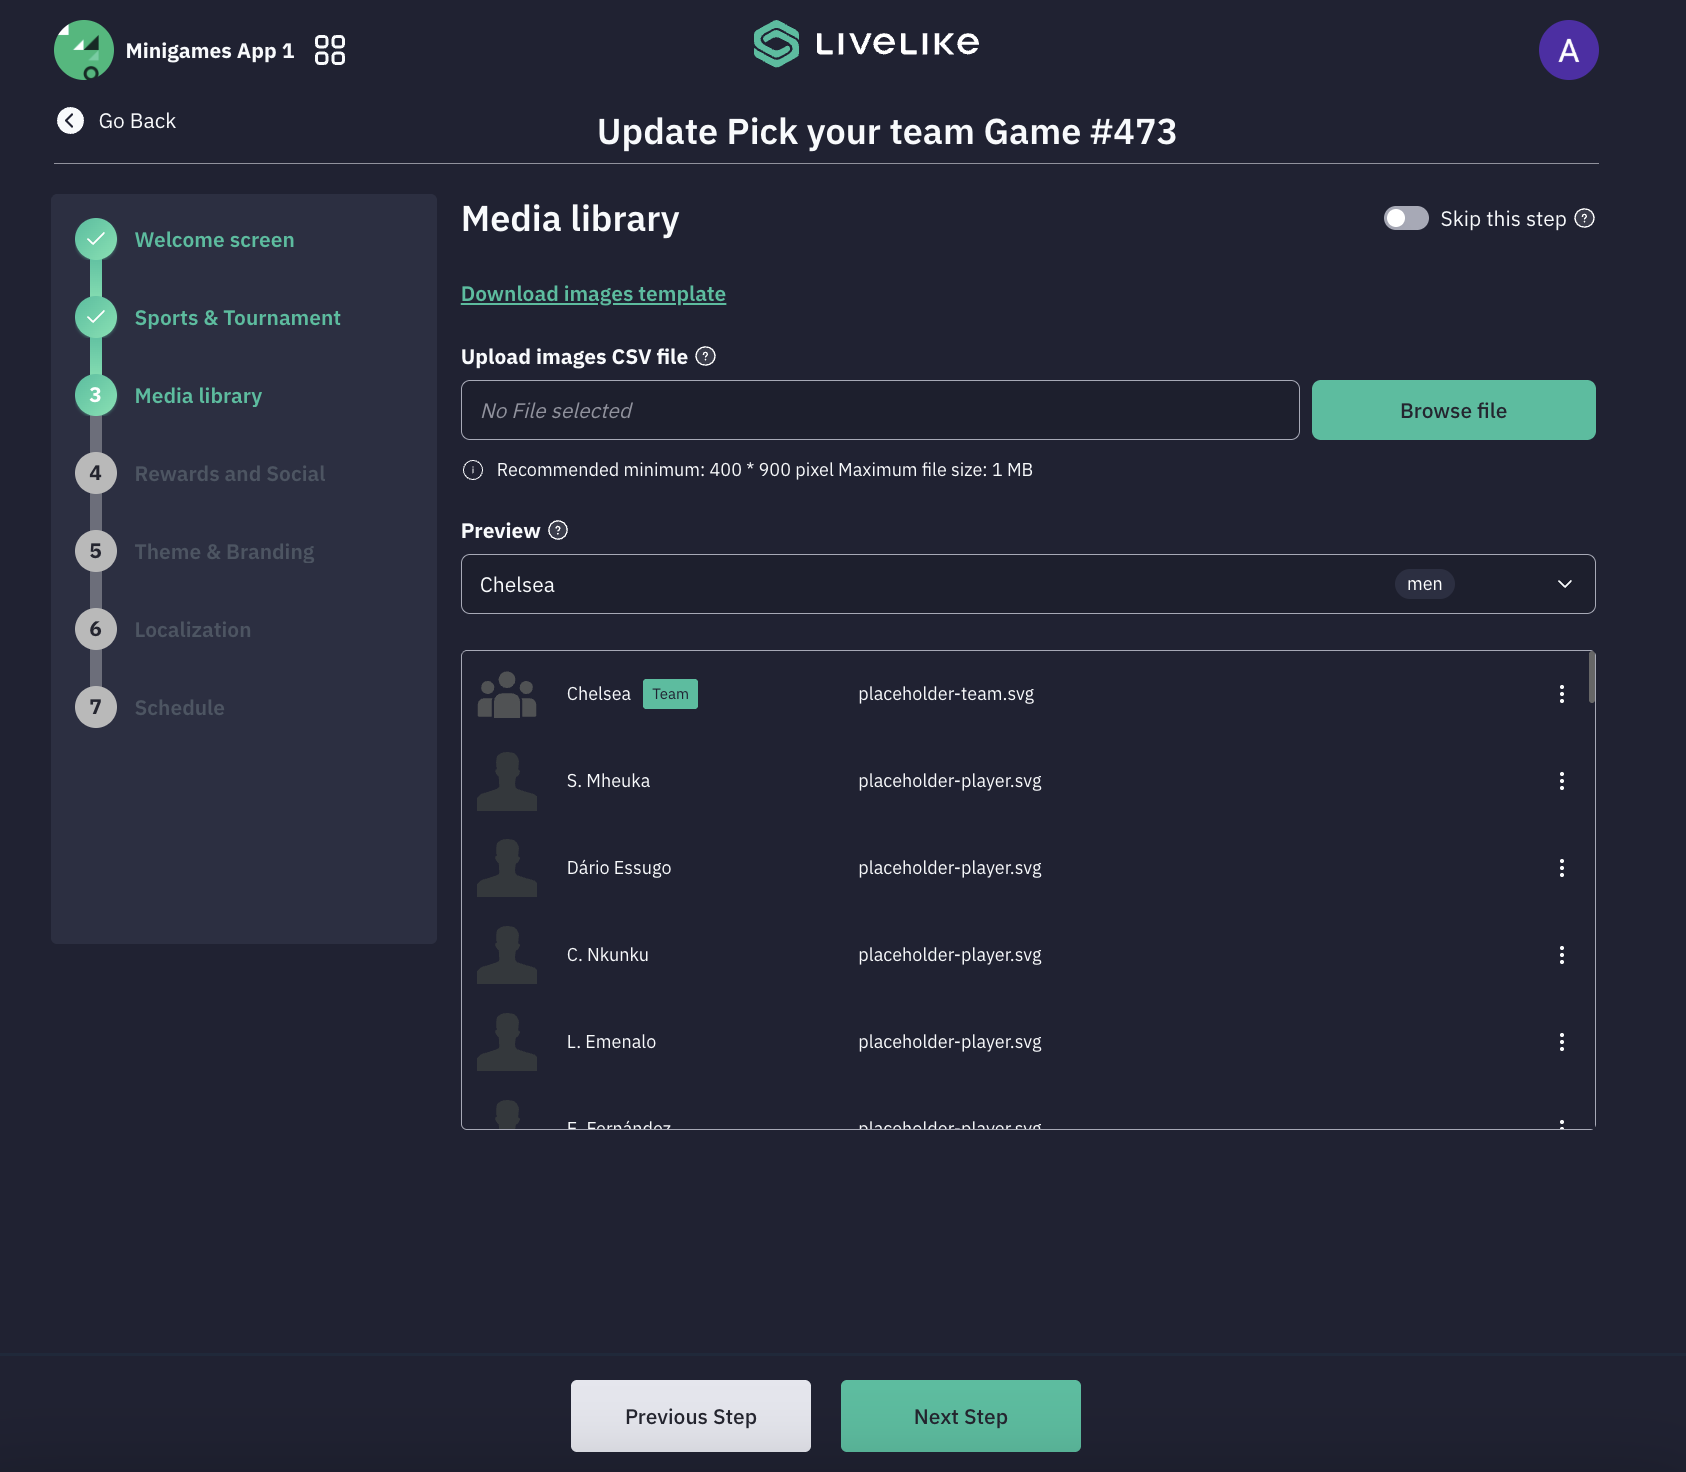
The Media Library section allows you to manage and upload images for teams and players in your Pick Your Team game.- Image Upload Process
- Download Template
- Click the "Download images template" link to get the CSV format
- Use this template to prepare your image information
- CSV File Upload
- Click "Browse file" to upload your images CSV file
- The file must follow the template format
- Contains image information for both teams and players
- Download Template
- Image Requirements
- Recommended minimum size: 400 x 900 pixels
- Maximum file size: 1 MB per image
- Supported format: JPG/JPEG
- Preview Section
- Select teams from the dropdown to preview their assets
- View both team and player images
- Key Features
- Skip this step, toggle available if needed
- Preview functionality to verify uploaded images
- Hierarchical display with team and player images
- Organized view of all media assets
- Best Practices
- Ensure all images meet the size requirements
- Verify all required images are included in the CSV
- Check image quality in the preview before proceeding
- Maintain consistent image dimensions for a professional appearance
- Image Upload Process
Note: The media library is crucial for creating an engaging visual experience. Proper image assets help players easily identify teams and players during the selection process.
-
Rewards and Social Features
The Rewards and Social step allows you to configure how players share their game experience, earn points, and compete on leaderboards. This step is divided into two areas: Social Sharing and Points & Rewards.
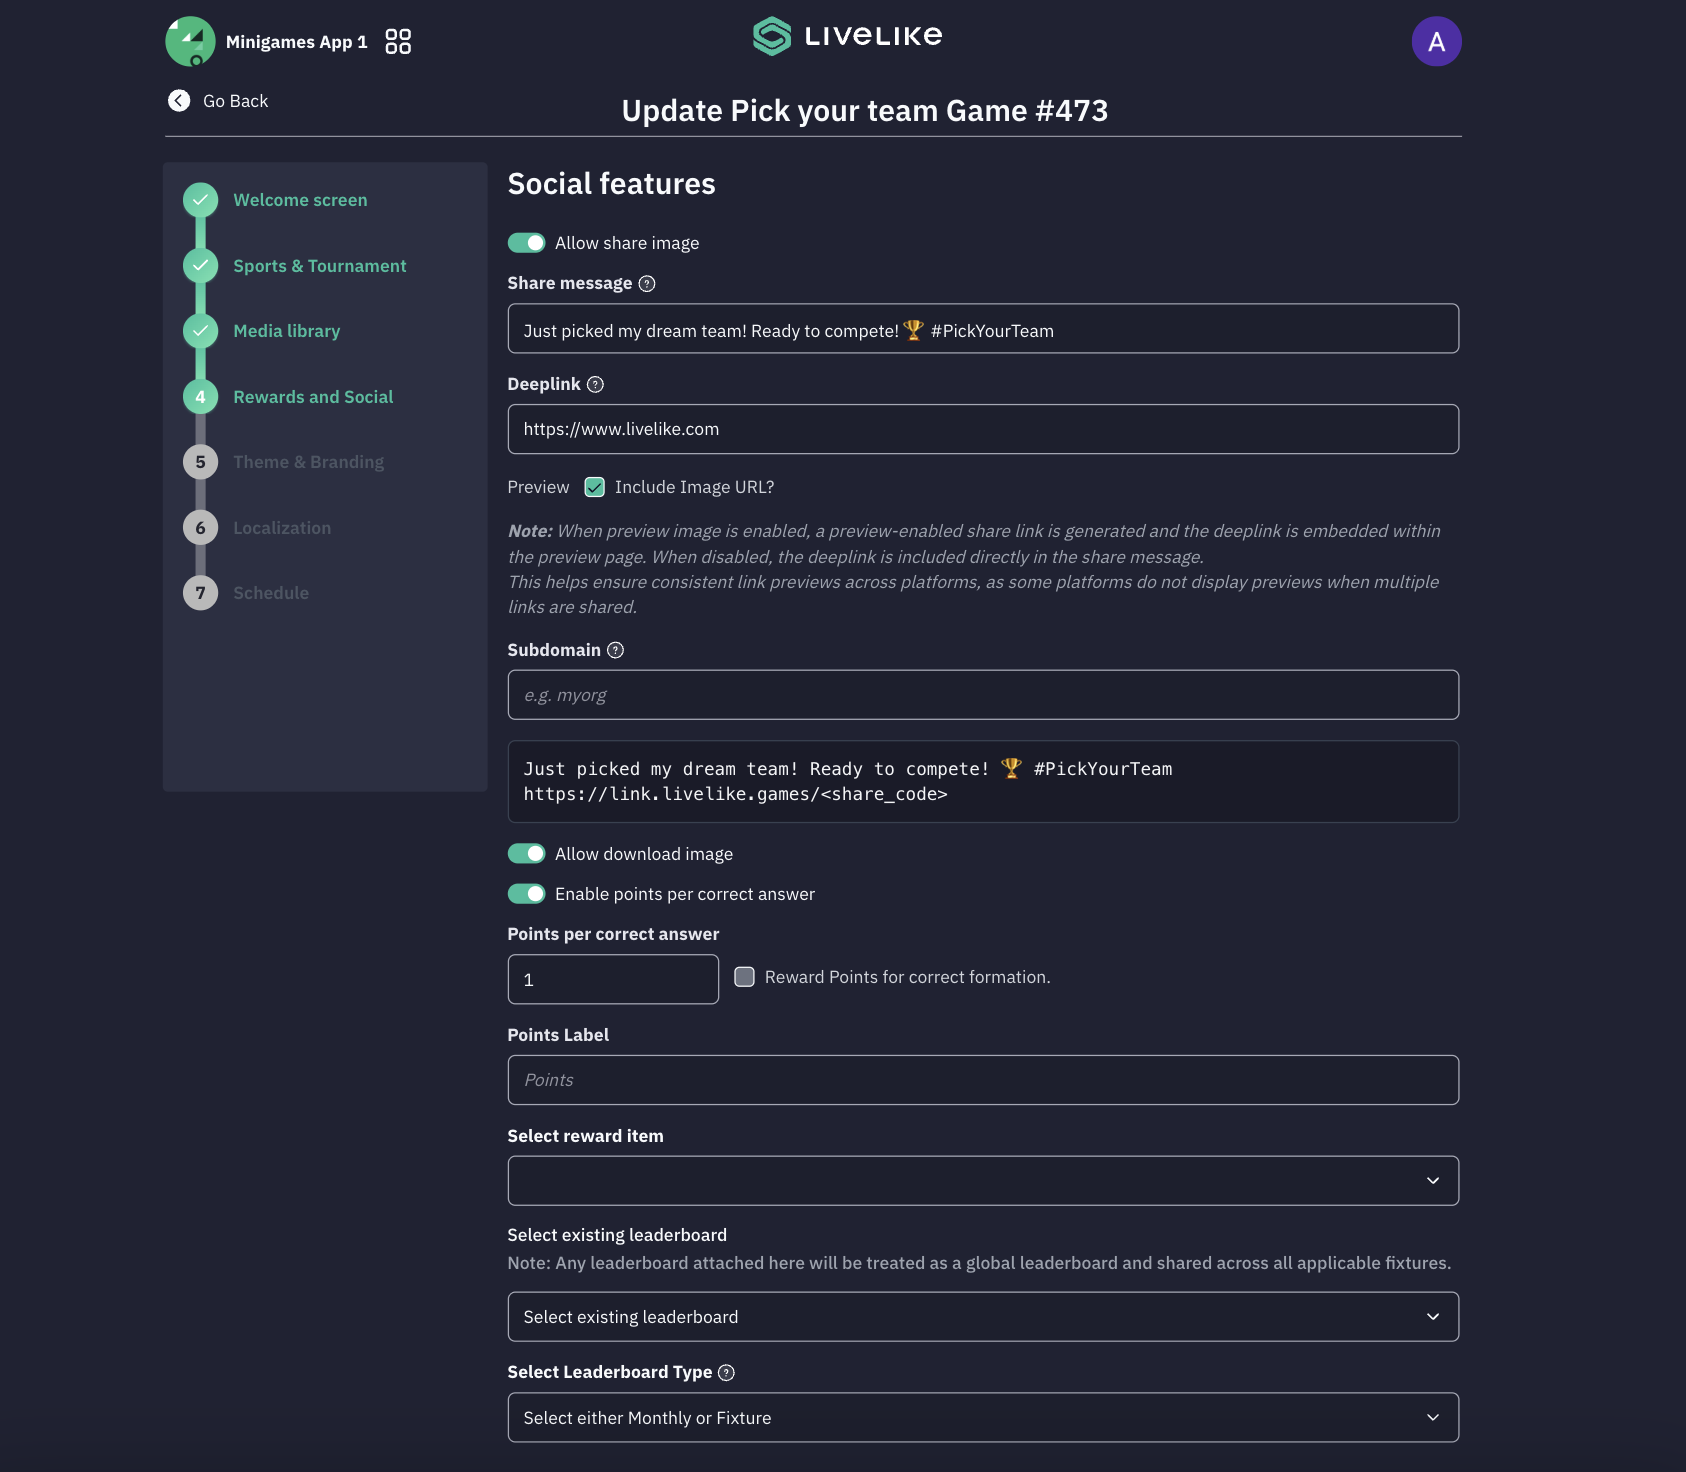
Social SharingThis section focuses on customizing sharing options and social engagement settings.
-
Allow Share Image (toggle)
- Enable to allow players to share a generated image of their team on social media
-
Share Message
- Customize the default text that accompanies a shared post
- Example:
Just picked my dream team! Ready to compete! 🏆 #PickYourTeam
-
Deeplink
- Enter the URL that the share link will direct recipients to when clicked
- Example:
https://www.livelike.com
-
Preview — Include Image URL? (checkbox)
- When enabled — a preview-enabled share link is generated and the deeplink is embedded within the preview page
- When disabled — the deeplink is included directly in the share message
- Note: Some platforms do not display link previews when multiple links are shared — this setting ensures consistent behavior across platforms
-
Subdomain
- Enter your organization's subdomain to generate a branded share link
- Example:
myorg - The generated share link will follow the format:
https://link.livelike.games/<share_code>
-
Allow Download Image (toggle)
- Enable to allow players to download their team image directly to their device
Points & Rewards-
Enable Points Per Correct Answer (toggle)
- Enable to award points to players based on their team performance after resolution
-
Points Per Correct Answer
- Enter the number of points awarded for each correct player pick
- Default value:
10
-
Reward Points for Correct Formation (checkbox)
- Check this box to award additional points when a player's chosen formation matches the actual match formation
- Requires Enable Formation Option to be turned on in Step 2
-
Points Label
- Enter the label used to display points to players within the game
- Default value:
Points
-
Select Reward Item
- Choose a reward item from the dropdown to grant to players upon earning points
Leaderboard-
Select Existing Leaderboard
- Attach an existing leaderboard to this game
-
Note: Any leaderboard attached here will be treated as a global leaderboard and shared across all applicable fixtures
-
Select Leaderboard Type
- Choose the leaderboard aggregation type to determine how scores are grouped and ranked
- Example:
Monthly, Fixture
Key Features- Social features increase engagement and virality by letting players share their team selections and invite others to participate
- Points and rewards incentivize accurate team selections
- Leaderboard integration creates competitive engagement across fixtures
-
- Theming
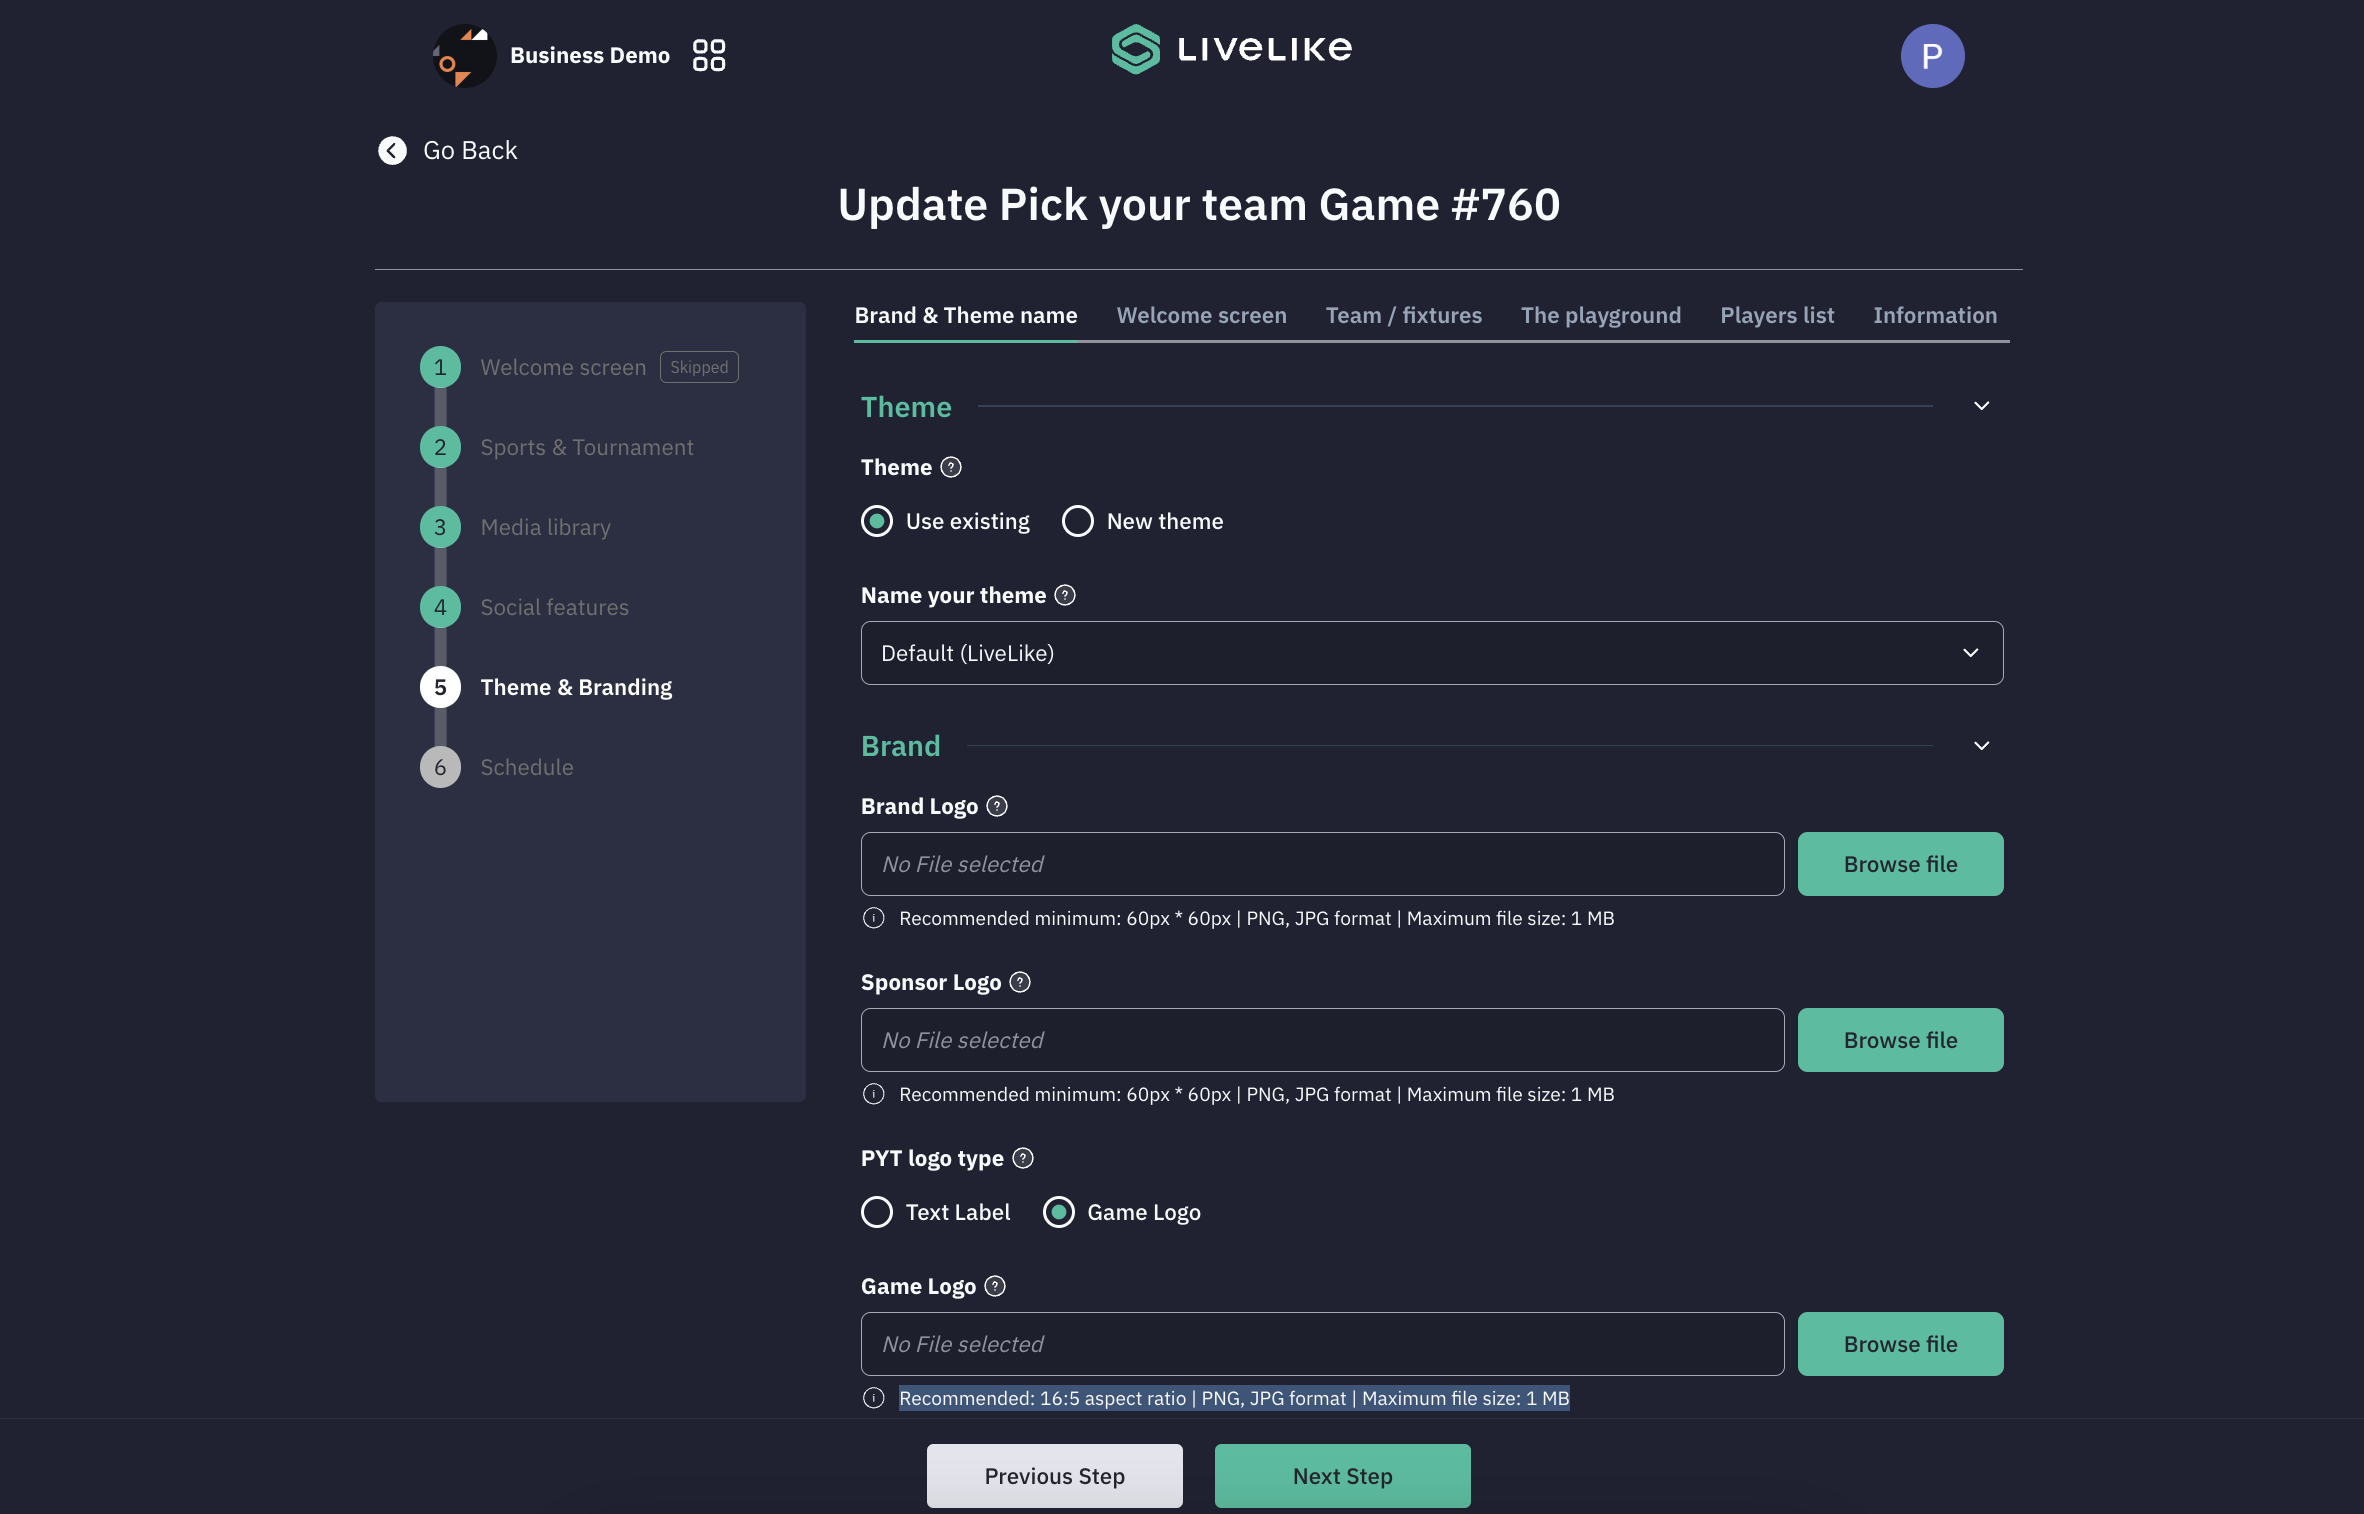
- The Theme & Branding section allows you to customize the visual identity of your Pick Your Team game. The interface is divided into different tabs: Brand & Theme name, Welcome screen, Team/fixtures, The playground, Players list, and Information.
- Theme Configuration:
- Choose between using an existing theme or creating a new one
- Select theme from dropdown (e.g., "Default (LiveLike)")
- Option to customize various game screens
- Brand Assets:
- Brand Logo
- Recommended size: 60px × 60px
- Formats: PNG, JPG
- Maximum file size: 1 MB
- Sponsor Logo
- Recommended size: 60px × 60px
- Formats: PNG, JPG
- Maximum file size: 1 MB
- Game Logo
- Two options:
- Text Label: Use text for game title
- Game Logo: Upload custom logo
- Recommended: 16:5 aspect ratio
- Formats: PNG, JPG
- Maximum file size: 1 MB
- Two options:
- Brand Logo
- Important Notes:
- Structure Limitations:
- Basic game flow cannot be modified
- Component positioning is fixed
- Core mechanics remain consistent
- Customization Scope:
- Colors and backgrounds are customizable
- Text content can be modified on welcome and results screens
- Player data structure must follow predefined format
- Performance Considerations:
- Optimize image sizes for better loading
- Structure Limitations:
Each section includes a "Browse file" button for easy upload and information icons (?) for additional guidance.
-
Localization
The Localization step allows producers to configure language settings, upload language-specific fonts, and manage translated game content. This step has two tabs: Configuration and Game Content.
Tab: Configuration-
Language
- Add Language — Select a language using the language code dropdown and click Add Language to support it in your game
- Example:
enfor English
- Example:
- Select Default Language — Choose the default language displayed to players when they first enter the game
- Example:
(en) English
- Example:
- Allow Language Switch (toggle) — Enable to allow players to switch between supported languages within the game interface
- Add Language — Select a language using the language code dropdown and click Add Language to support it in your game
-
Font
- Select Language — Choose the language for which you want to assign a custom font
- Language Font — Upload a custom font file (.ttf) to apply for the selected language
- Click Browse File to upload your font
Tab: Game Content- Use this tab to manage translated text strings for each language added in the Configuration tab
- Enter localized versions of all in-game labels, messages, and UI text
- Each added language will have its own column of translatable strings

-
-
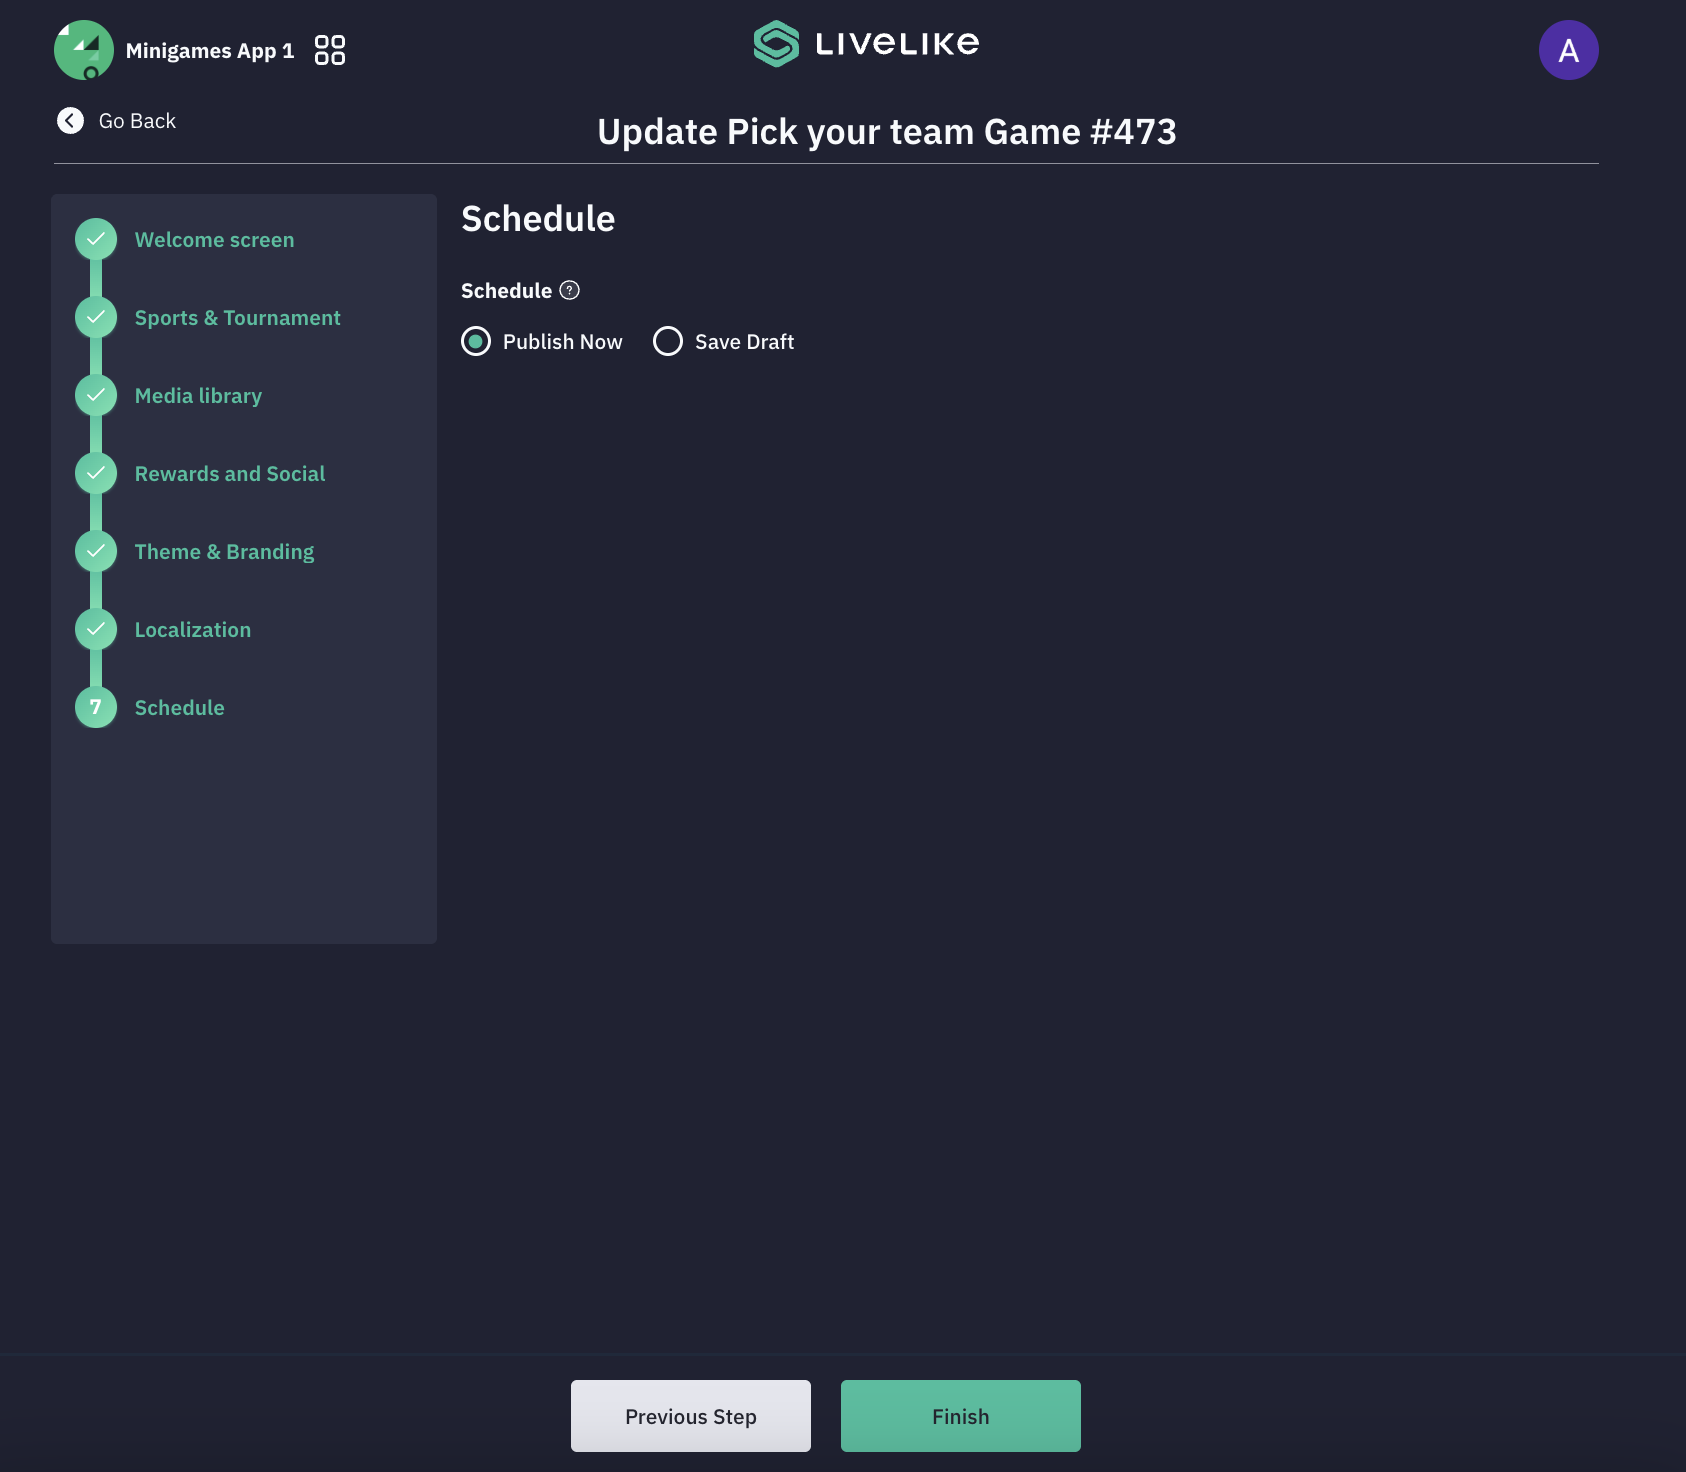
Schedule
- Control game availability:
- Publish immediately
- Schedule for future date/time
- Control game availability:
- Preview
Click on the 3 dot icon and click Preview to preview the experience you created.
Managing Your Games
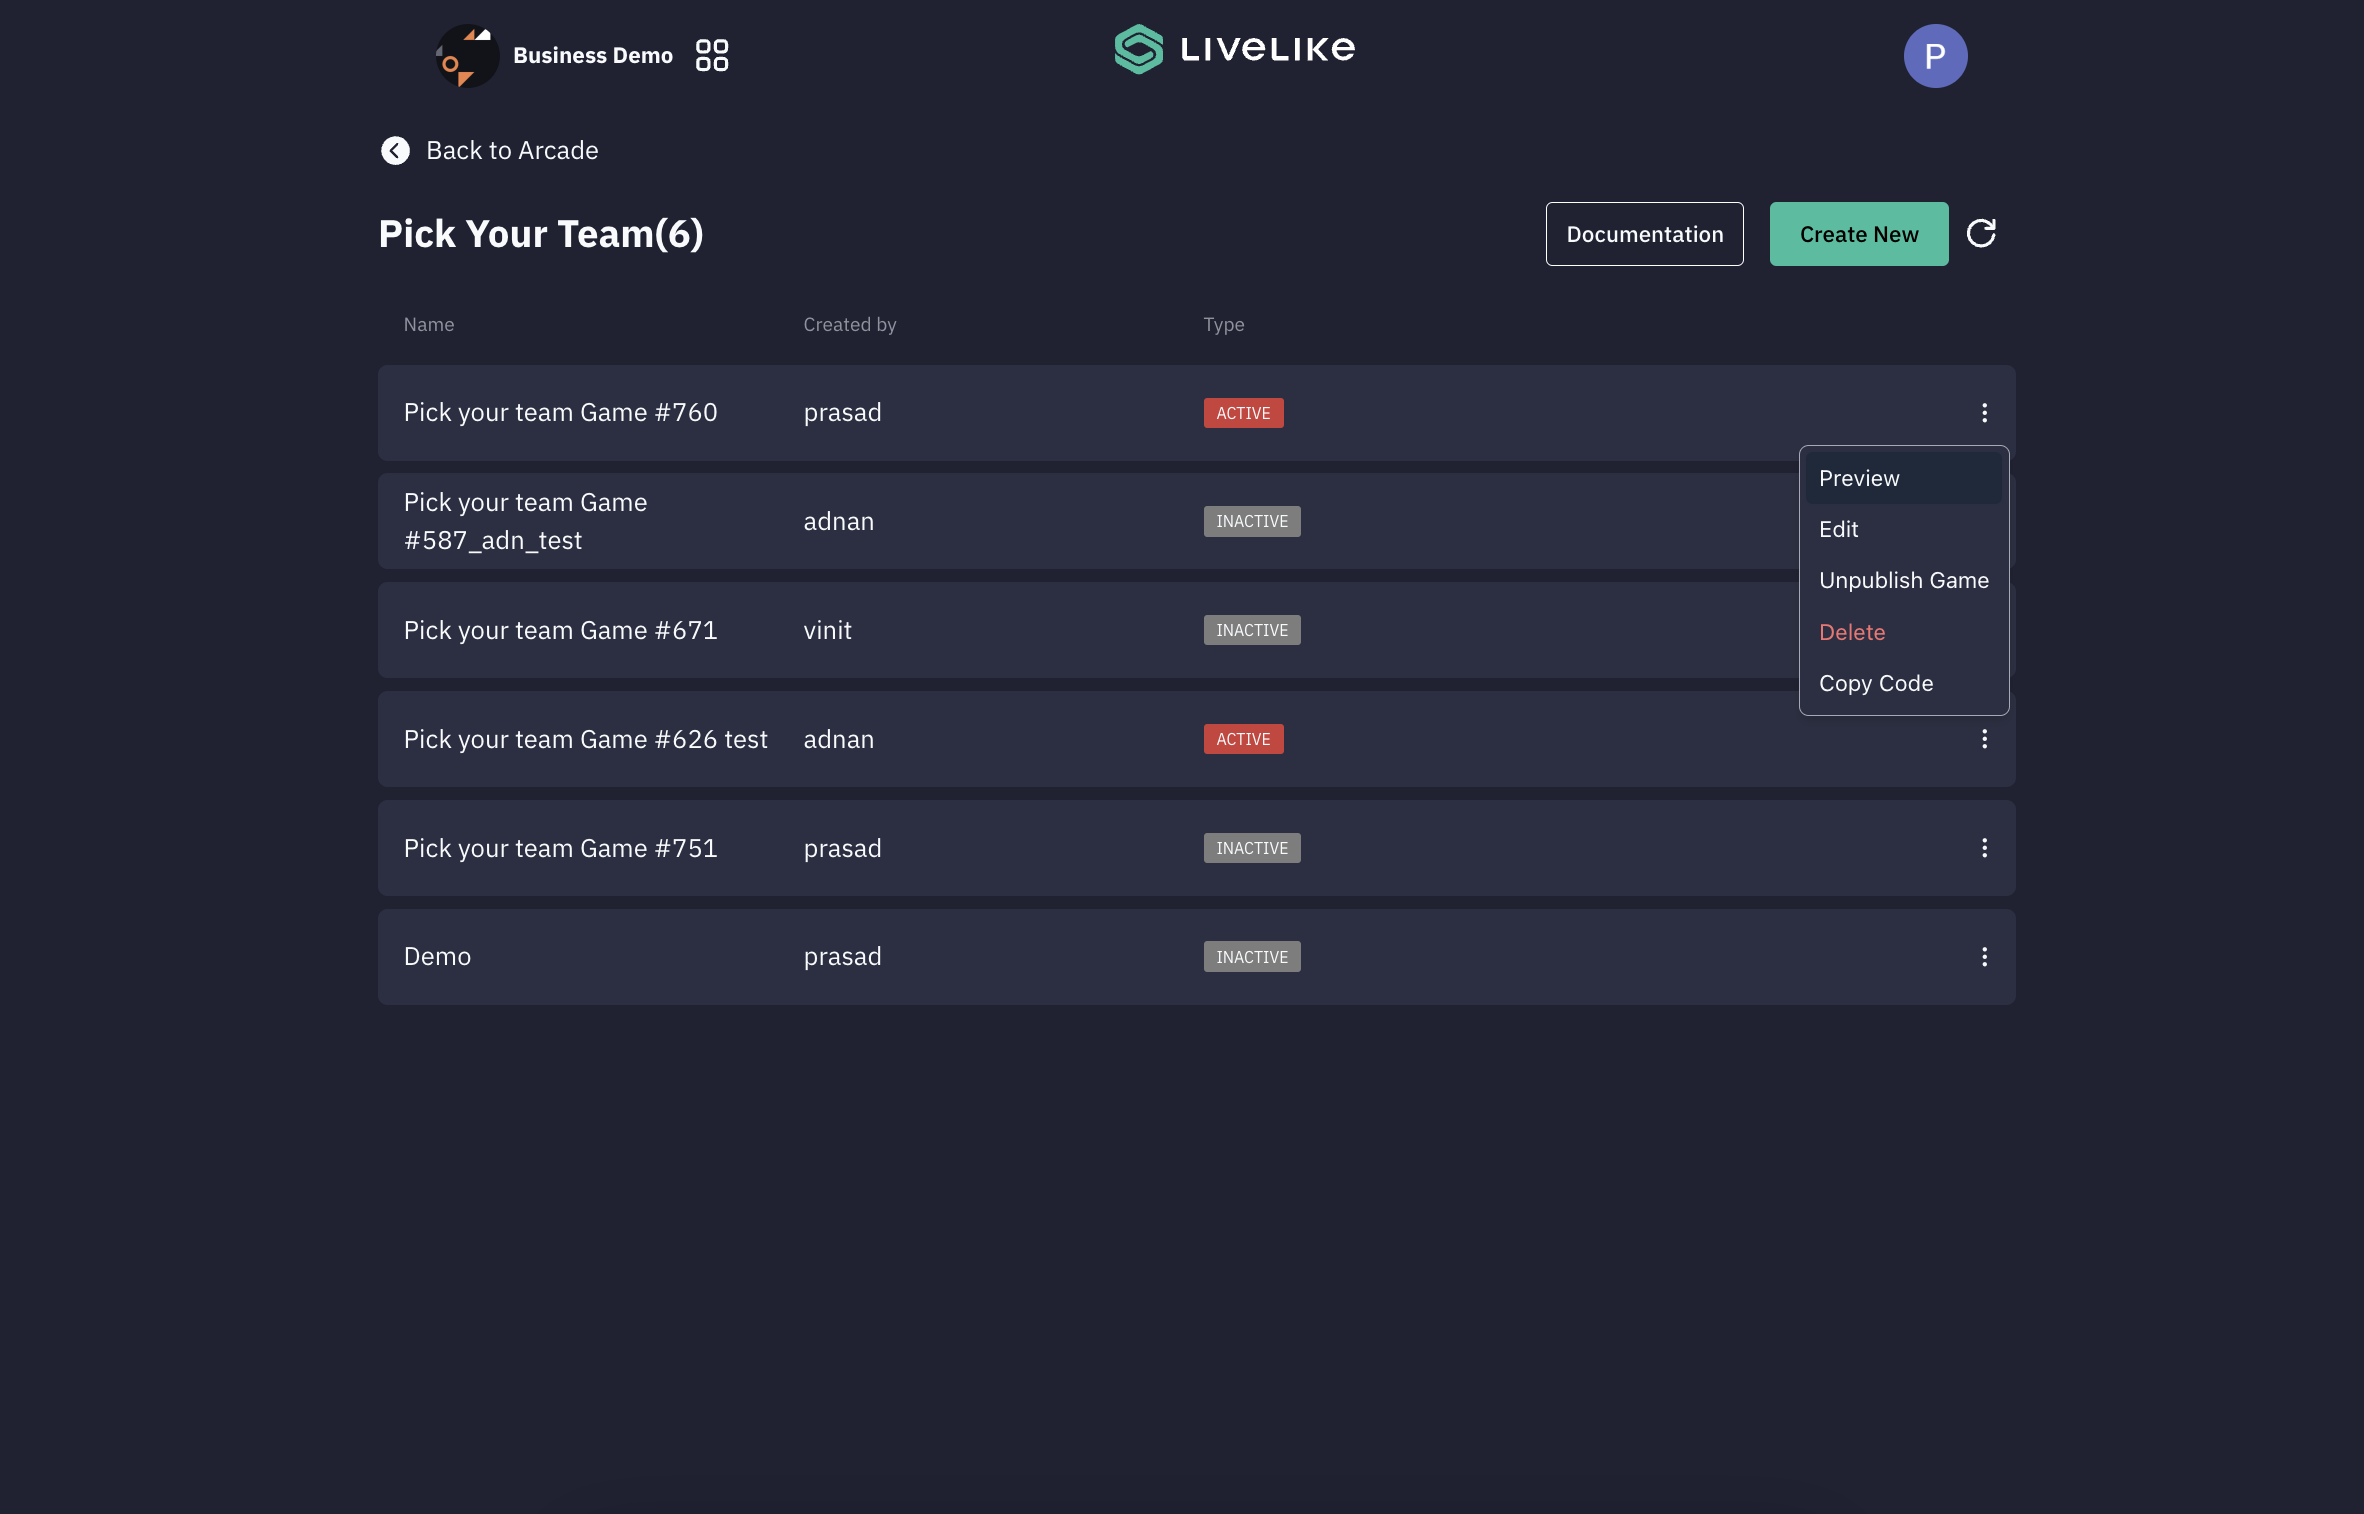
Game Instances
Once your Pick Your Team game is created, it will appear in the Game Instances list. This page provides a full overview of all games created within your application.
Page Tabs
| Tab | Description |
|---|---|
| Game Instances | Lists all created Pick Your Team games with their current status and details |
| Activity Logs | View a history of all actions taken on games within this application |
| What's New | See the latest updates and new features added to Pick Your Team |
Game List Columns
| Column | Description |
|---|---|
| Name | The name of the game instance |
| Created By | The producer who created the game |
| Created On | The date the game was created |
| Updated By | The producer who last made changes |
| Updated On | When the game was last updated |
| Type | Current status — Active (live and visible to players) or Inactive (unpublished) |
Three-Dot Menu Options
Click the ⋮ icon on any game instance to access the following actions:
| Option | Description |
|---|---|
| Preview | Preview the game experience as a player without publishing |
| Unpublish Game | Take the game offline — it will no longer be visible to players |
| Edit | Return to the 7-step setup flow to modify the game configuration |
| Control Panel | Open the Control Panel to manage fixture resolution |
| Delete | Permanently delete the game instance (this action cannot be undone) |
| Documentation | Open the Pick Your Team documentation directly from the CMS |
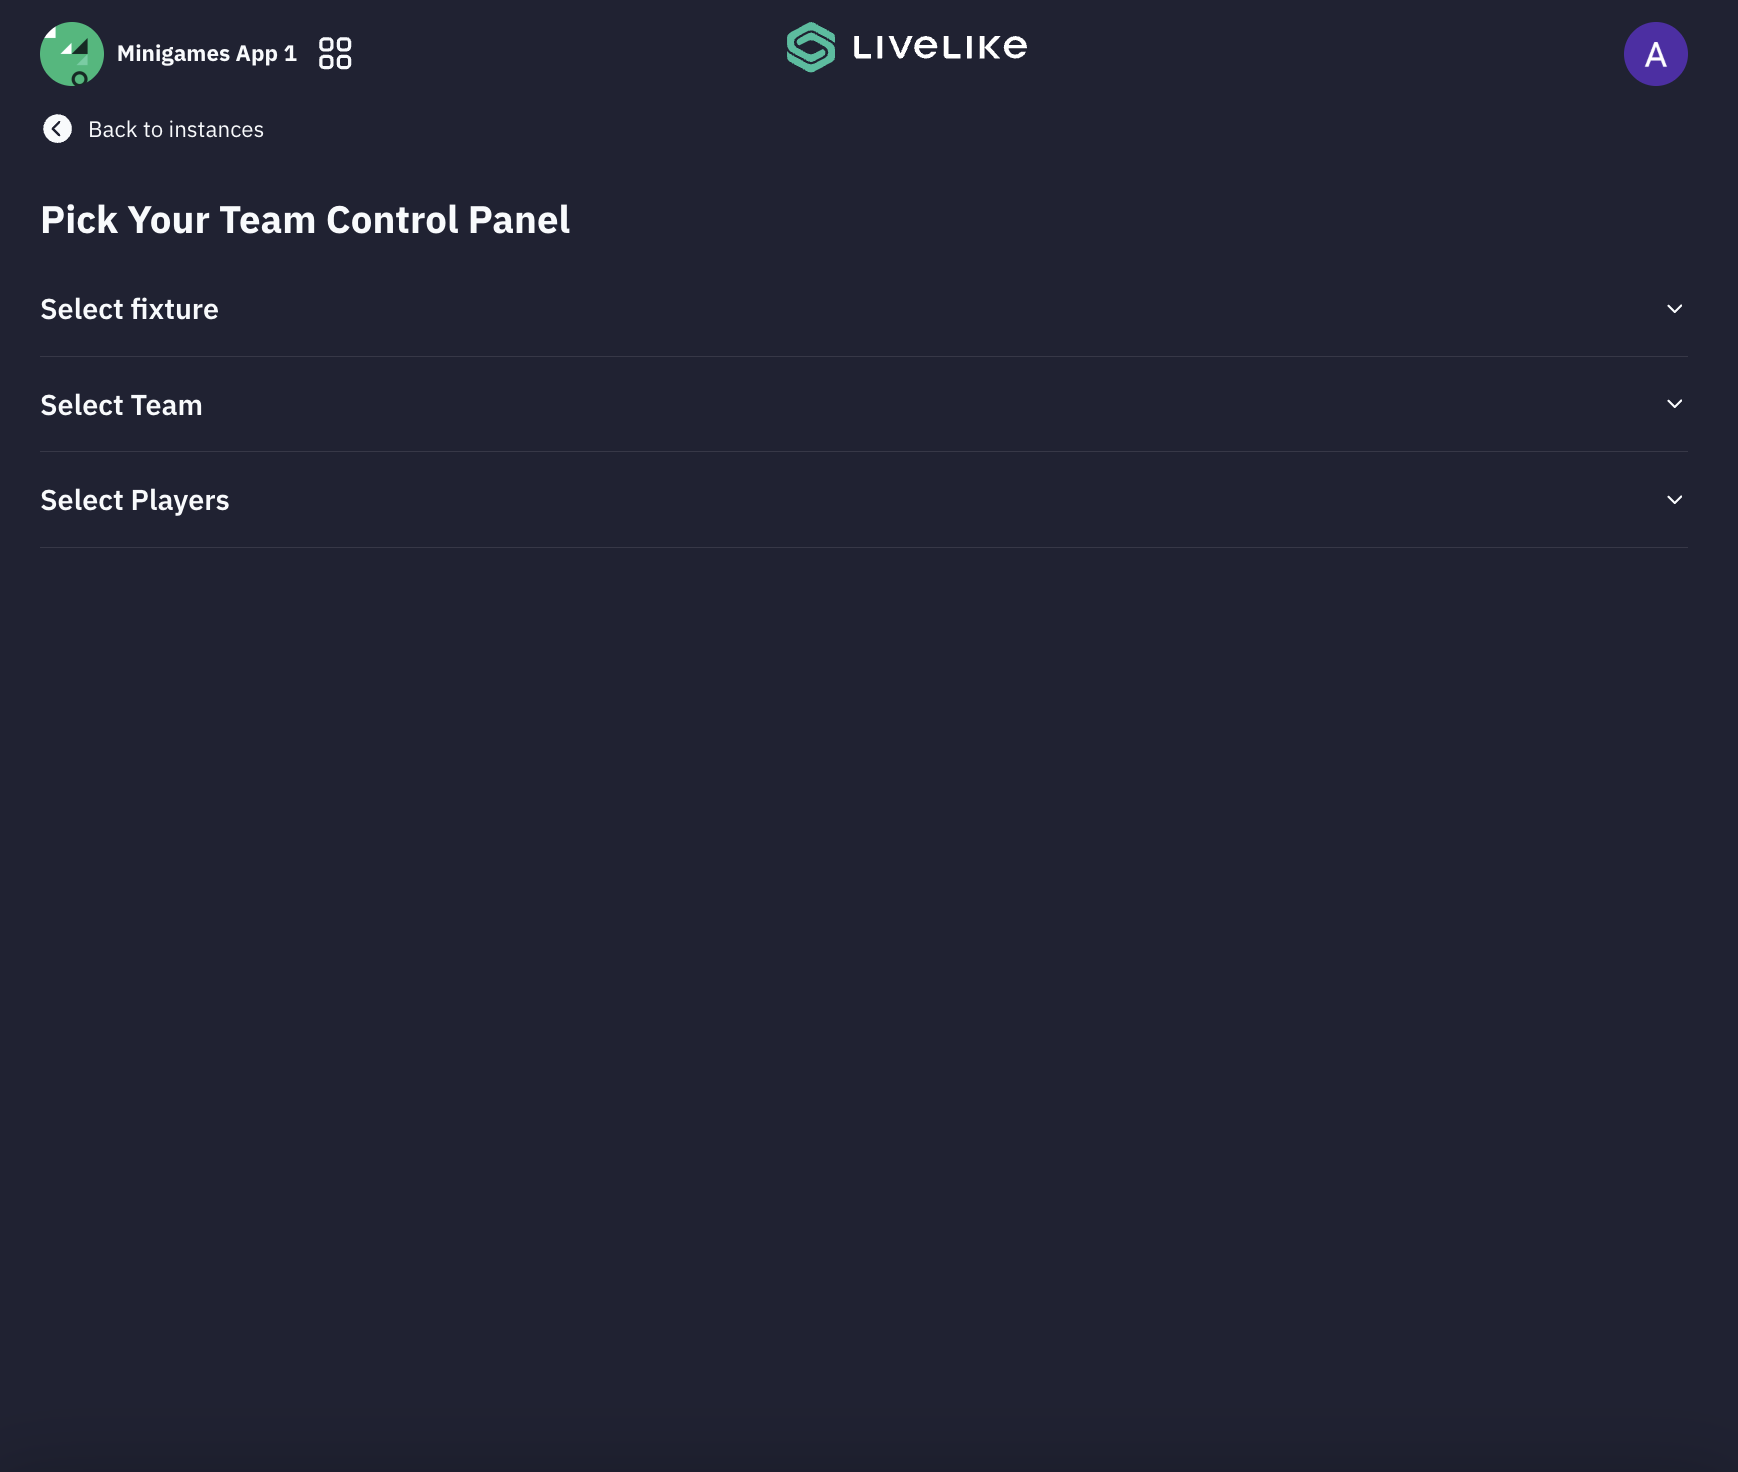
Control Panel
The Control Panel is where producers manage the resolution of each fixture — publishing the official starting XI and formation that will be used to score player submissions.
To access the Control Panel, click the ⋮ menu on any game instance and select Control Panel.
AI Resolution vs. Manual Resolution
If Enable AI Resolution is turned on, the system will automatically resolve the lineup 30 minutes after the match start time using AI and live data feed. In this case, you do not need to manually select the team or players — resolution happens automatically.
If AI resolution fails for a fixture, go to the fixture in the Control Panel and click Publish with AI. This will publish the lineup without requiring manual player selection.
Manual resolution (steps below) is only required when AI resolution is disabled or unavailable.
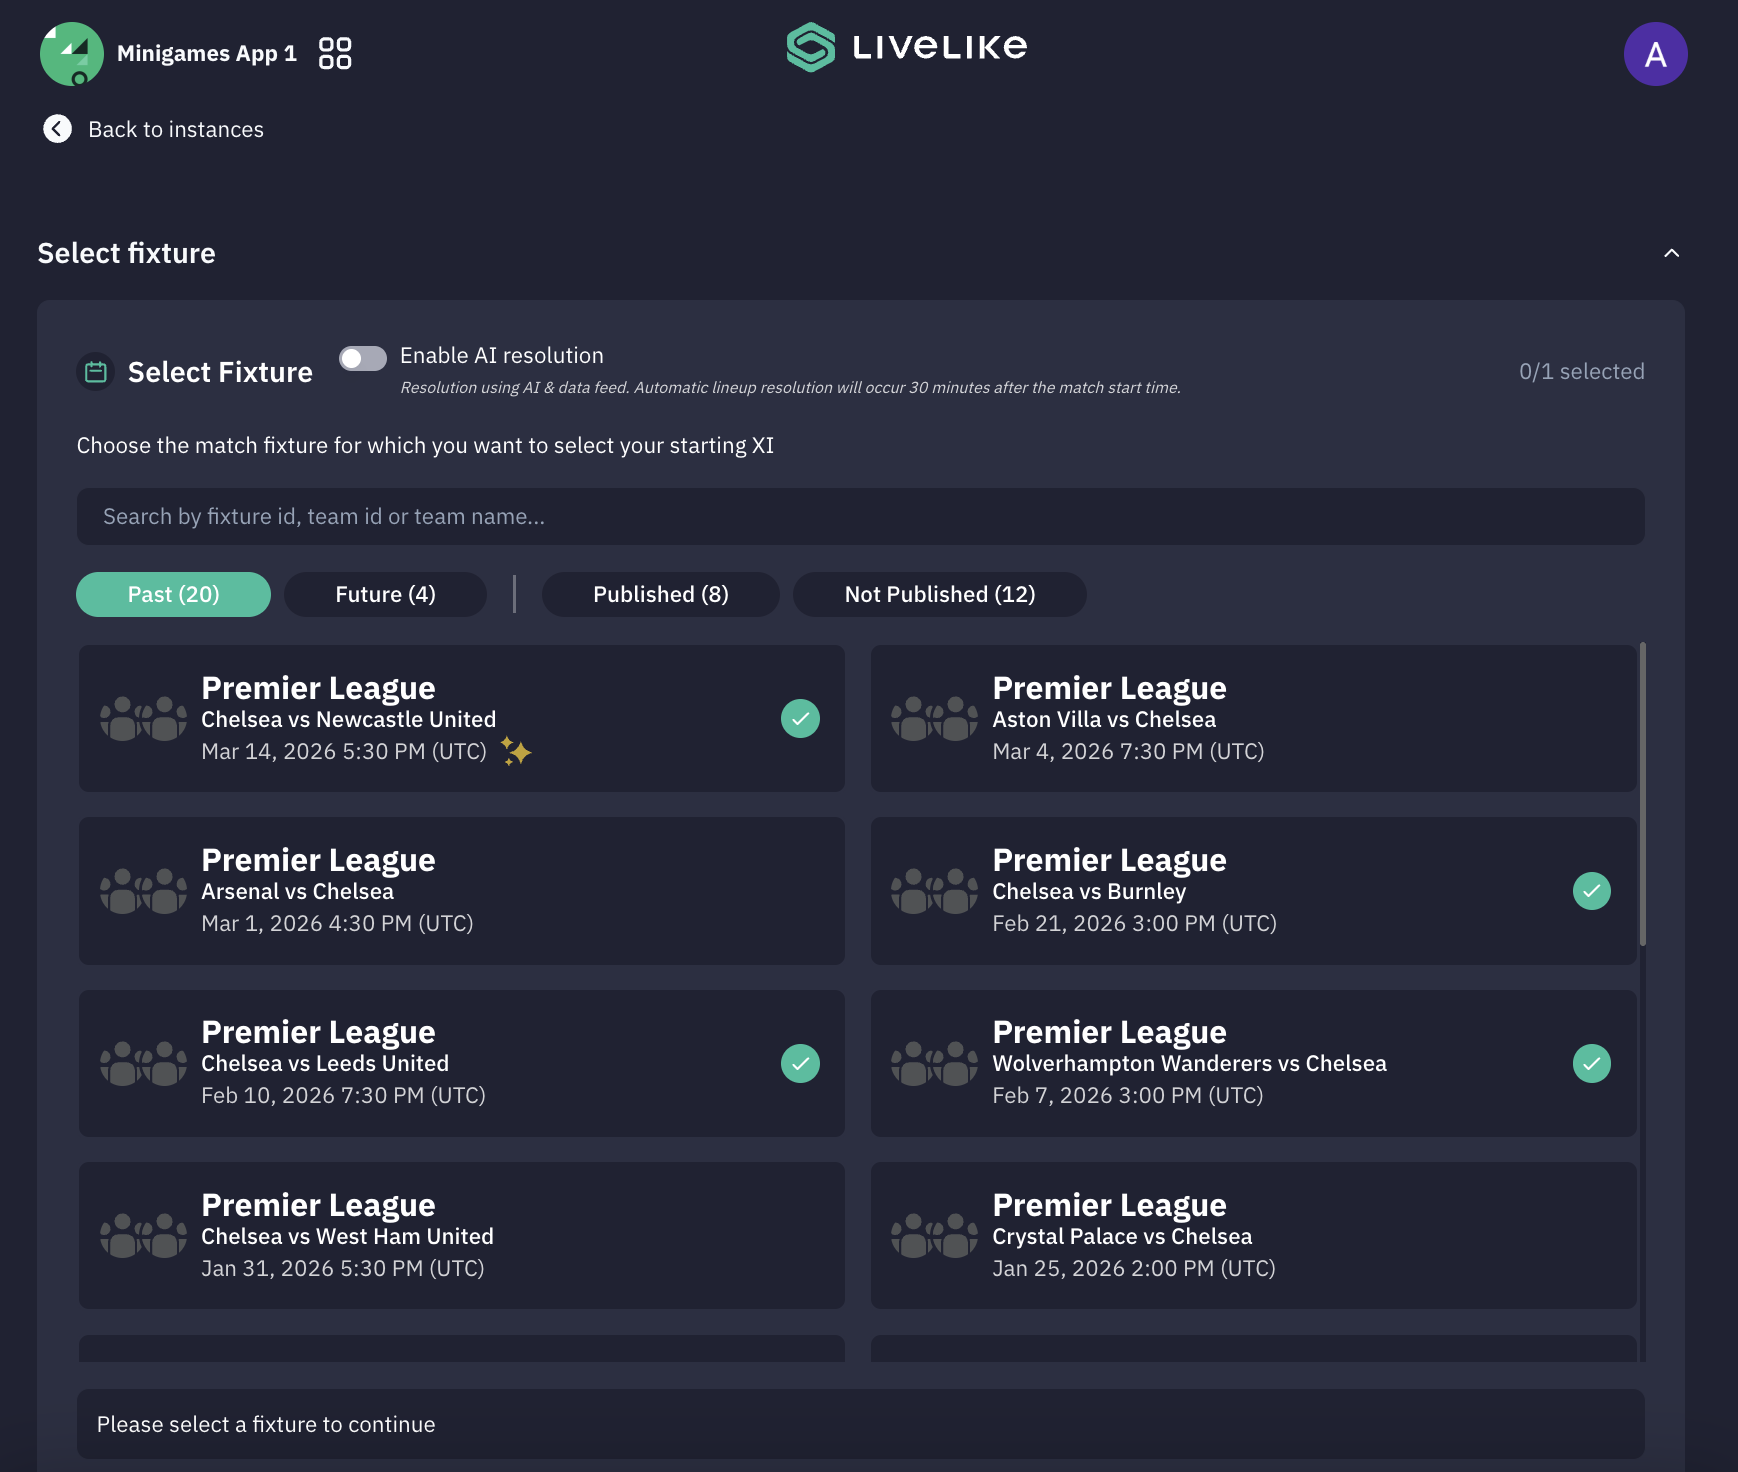
Section 1: Select Fixture
-
Enable AI Resolution (toggle)
- Enable to allow the system to automatically resolve lineups using AI and live data feed
- Automatic resolution will occur 30 minutes after the match start time
-
Search
- Search for a specific fixture by fixture ID, team ID, or team name
-
Fixture Filter Tabs
- Past — Fixtures that have already taken place
- Future — Upcoming fixtures that have not yet been played
- Published — Fixtures that are live and visible to players
- Not Published — Fixtures not yet visible to players
-
Each fixture card displays the tournament name, match teams, and kickoff date and time (UTC)
-
Fixtures with a green checkmark have already been resolved
-
Select a fixture to proceed to Select Team
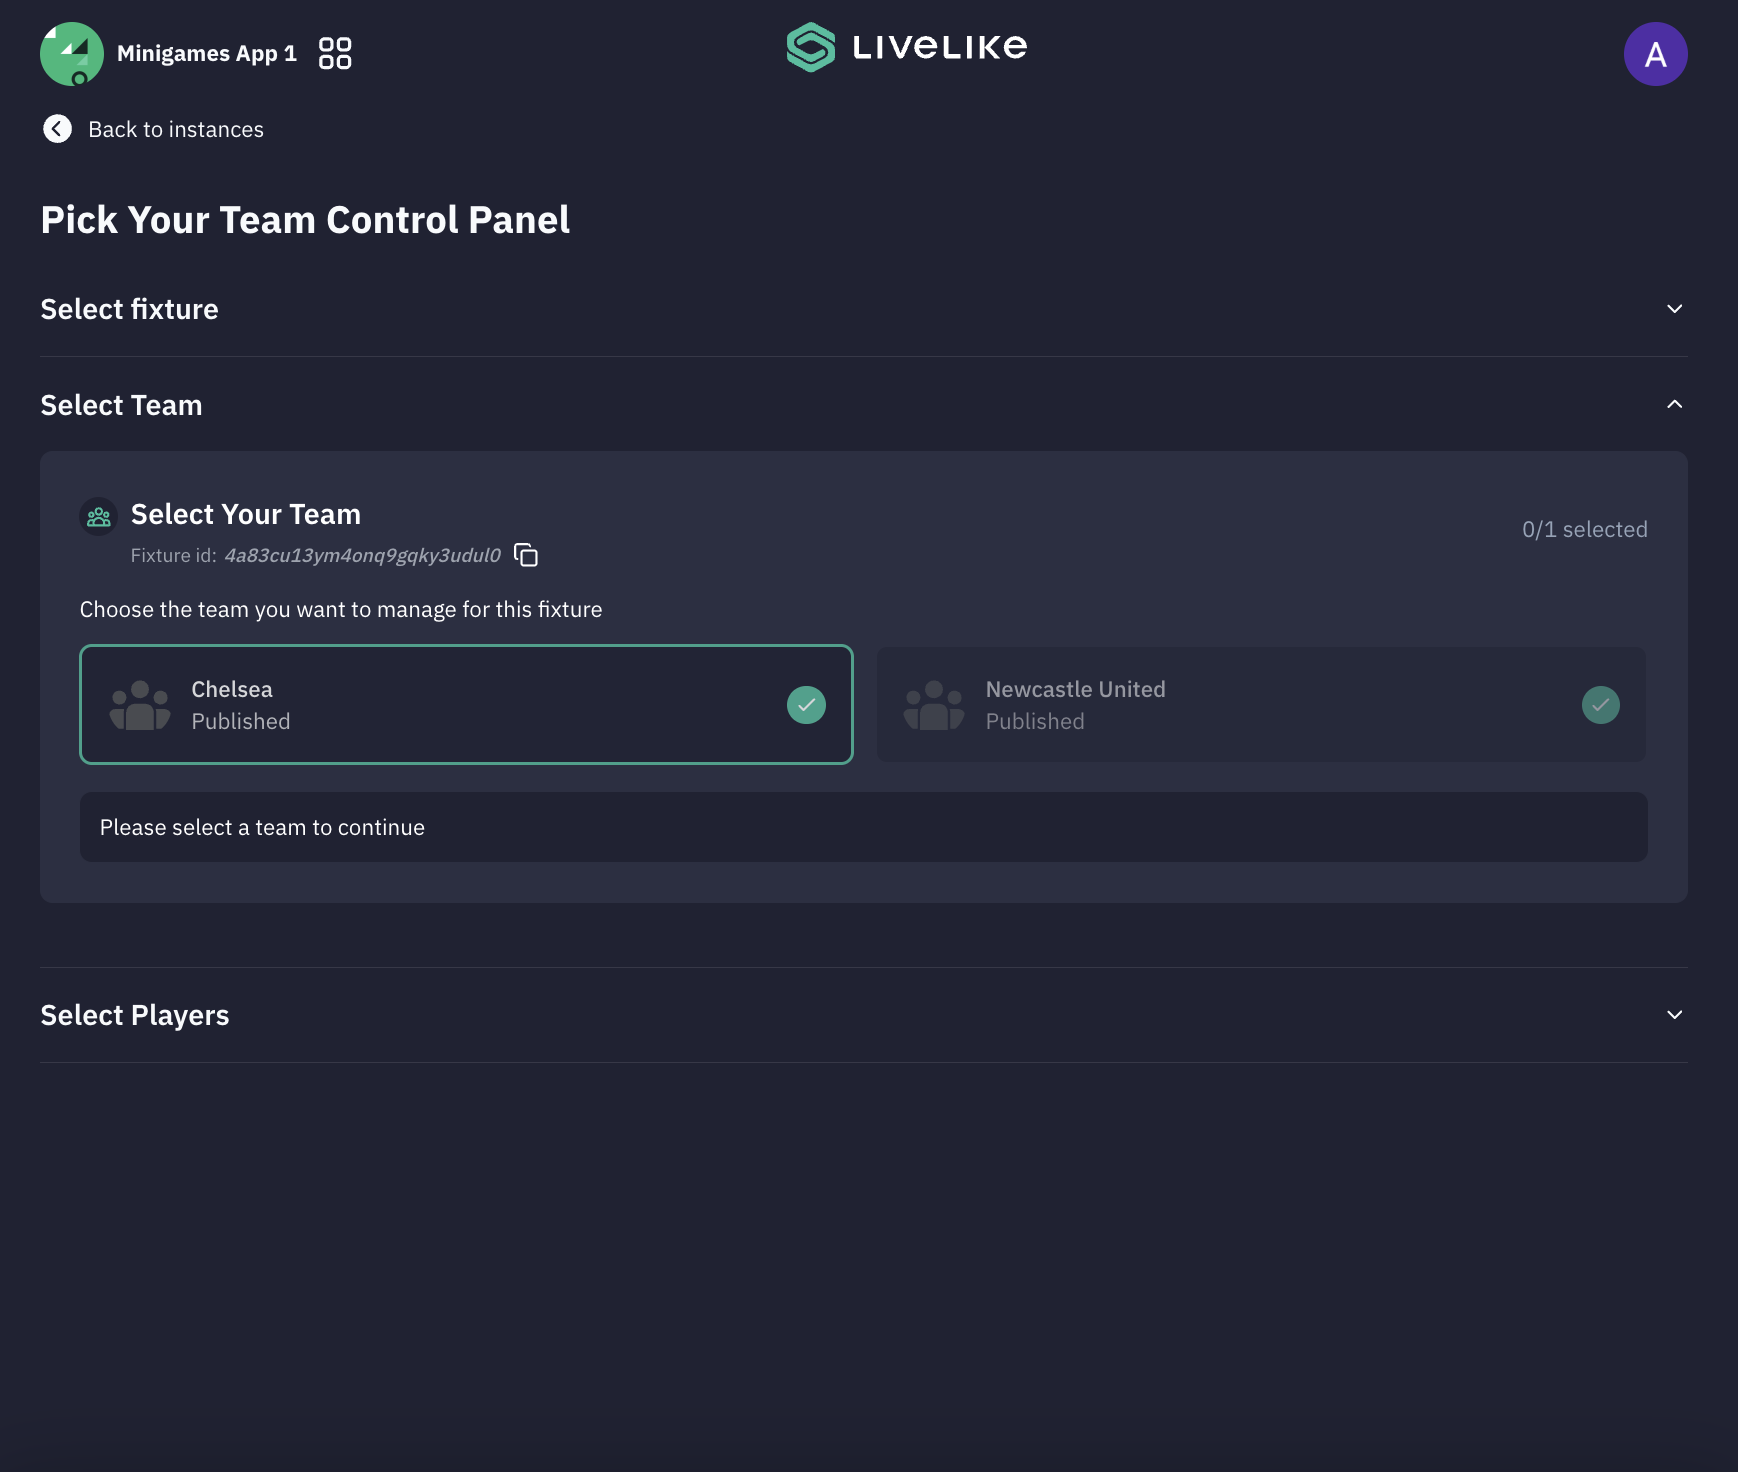
Section 2: Select Team
-
After selecting a fixture, choose which team's starting XI you want to manage
-
The Fixture ID is displayed for reference and can be copied using the copy icon
-
Teams are shown with their availability status:
- Available — This team can be selected for resolution
- Not Available — This team cannot be managed for this fixture
-
Select the available team to proceed to Select Players
-
Publish with AI (button)
- Click to publish the resolved lineup using AI and data feed, without manually selecting players
- Use this as a fallback if automatic AI resolution has failed for a fixture
- Available once a fixture and team have been selected
Section 3: Select Players
This section is only required for manual resolution.
-
Fixture & Team Info
- Displays the selected fixture and the team being managed
- Example:
Arsenal vs Chelsea — Mar 1, 2026 4:30 PM UTC | Team: Chelsea
-
Select Formation
- Choose the formation used by the team in this match from the dropdown
- Used for formation-based scoring if the formation reward option is enabled
-
Search Players
- Search for a specific player by name within the squad
-
Position Filters
- Filter the player list by position to find players quickly:
- All — Show all positions
- Goalkeeper — Show goalkeepers only
- Defender — Show defenders only
- Midfielder — Show midfielders only
- Attacker — Show attackers only
- Filter the player list by position to find players quickly:
-
Player List
- Browse the full squad and click the + button next to each player to add them to the starting XI
- The counter at the top right tracks progress (e.g.,
0/11 selected) - Select all 11 players and confirm the lineup to complete resolution
Key Considerations
- Always verify fixture selection before proceeding — resolution cannot easily be undone
- If AI resolution is enabled, monitor the first few fixtures to confirm it is resolving correctly
- Use Publish with AI as your first fallback option before resorting to manual selection
- Ensure the correct formation is selected if formation-based scoring is enabled in your game
Updated 4 months ago