
How to Create a Quest in CMS
Log in to the CMS.
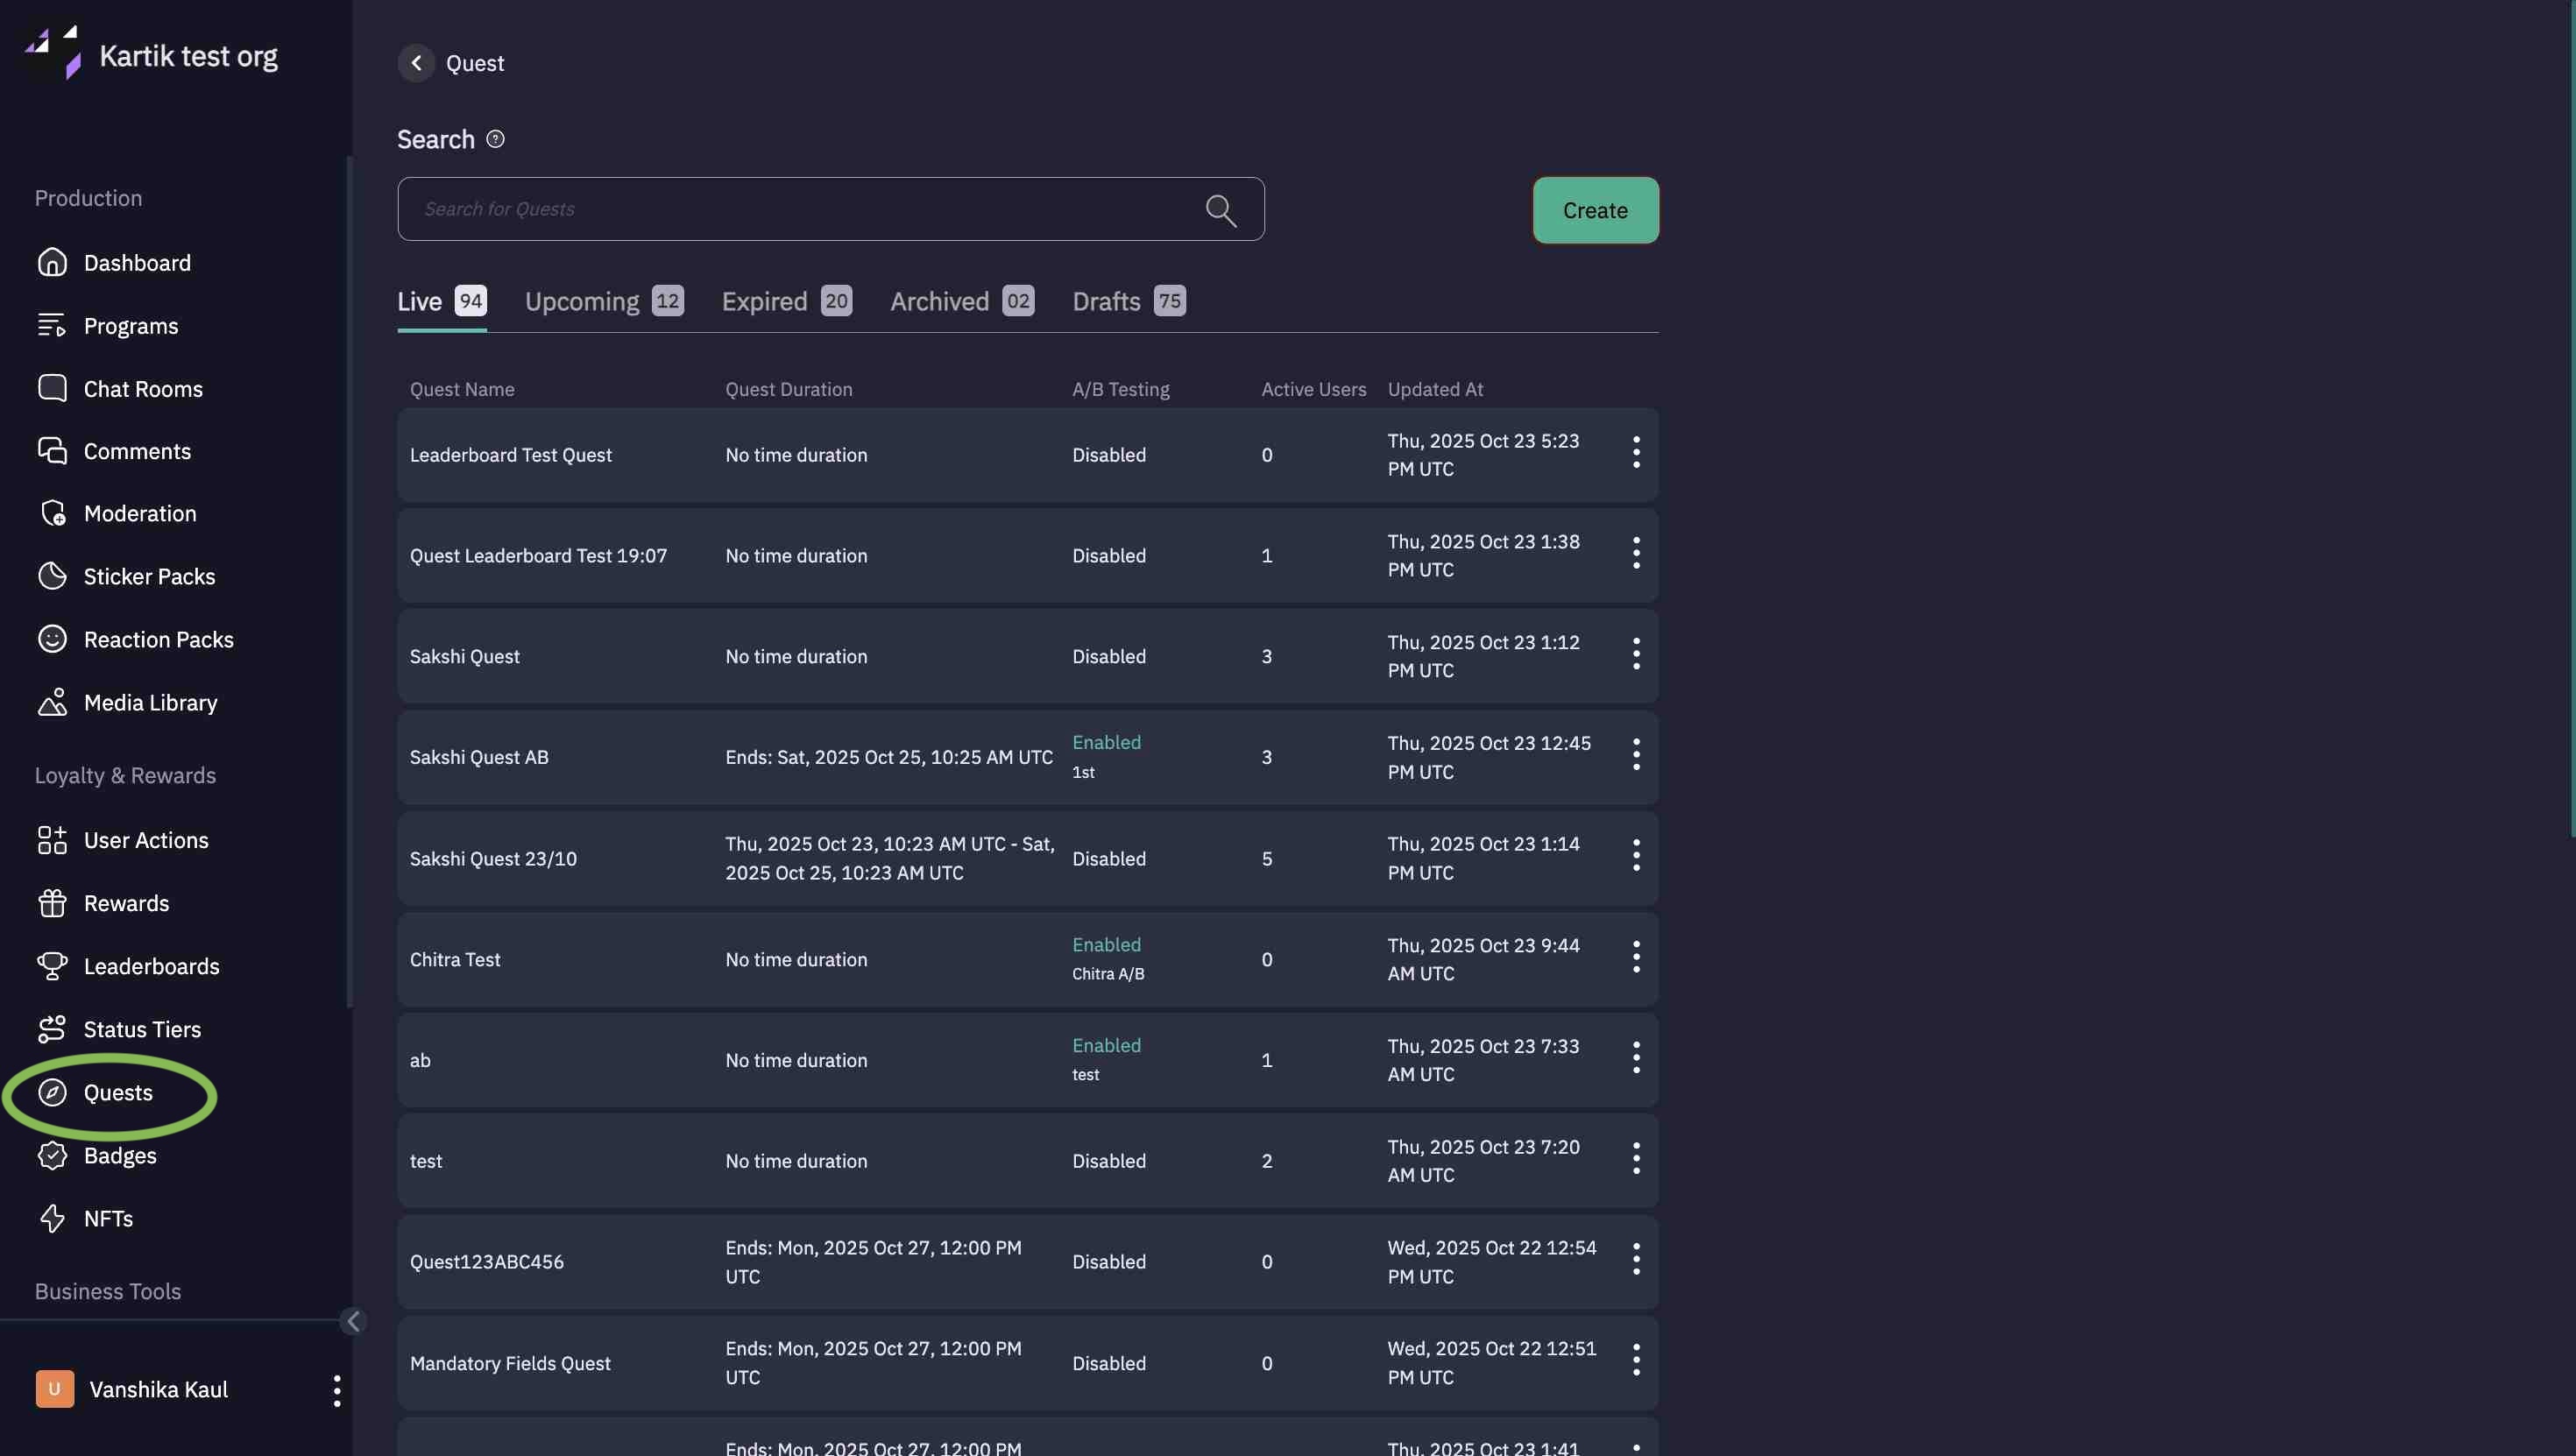
1. Navigate to Quest
From the left-hand menu, click Quests.
Click “Create ” to create Quest.
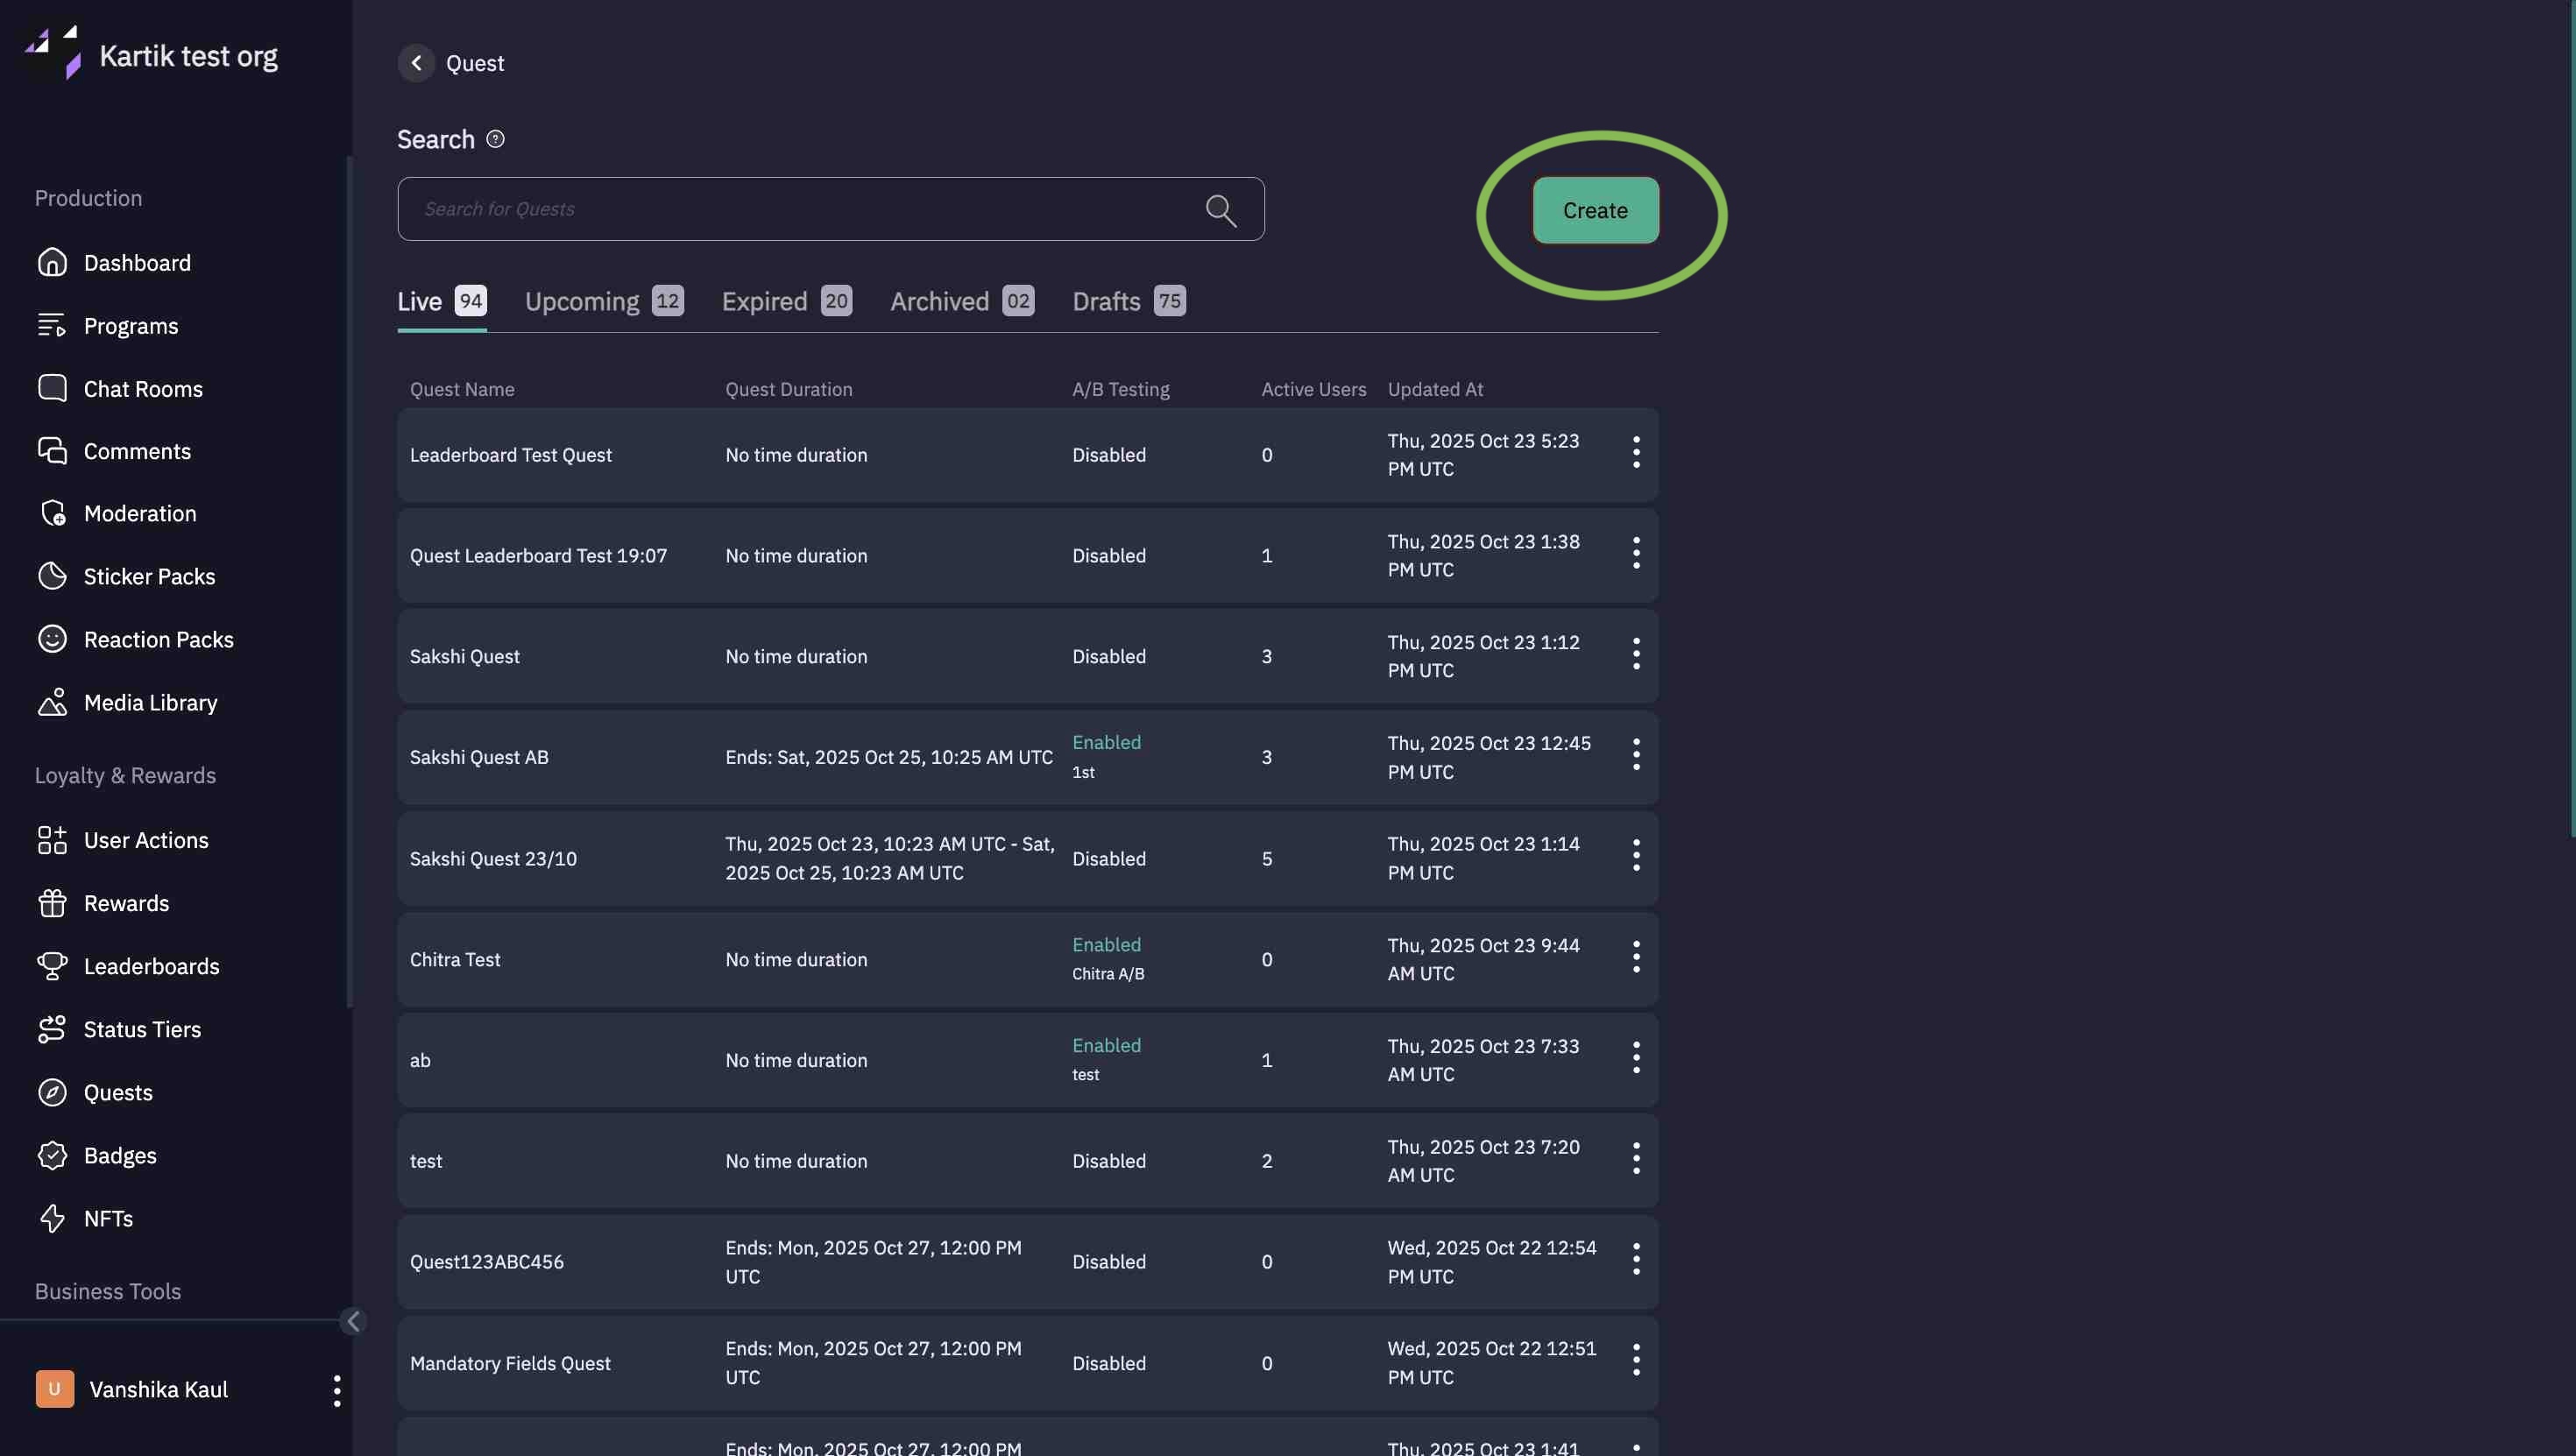
After clicking on Create below page will open up

2. Configure Basic Quest Details
On the Create Quest page, enter the following details:
-
Quest Name – e.g., “Feature Explore Quest”
-
Description (optional) – Brief summary of the quest’s purpose.
-
Quest Duration – Choose one of the three options:
Use this option when the quest doesn’t need a specific start or end time. Ideal for ongoing or evergreen quests that users can complete anytime.
- User Groups (optional) – Assign which user groups can access this quest.
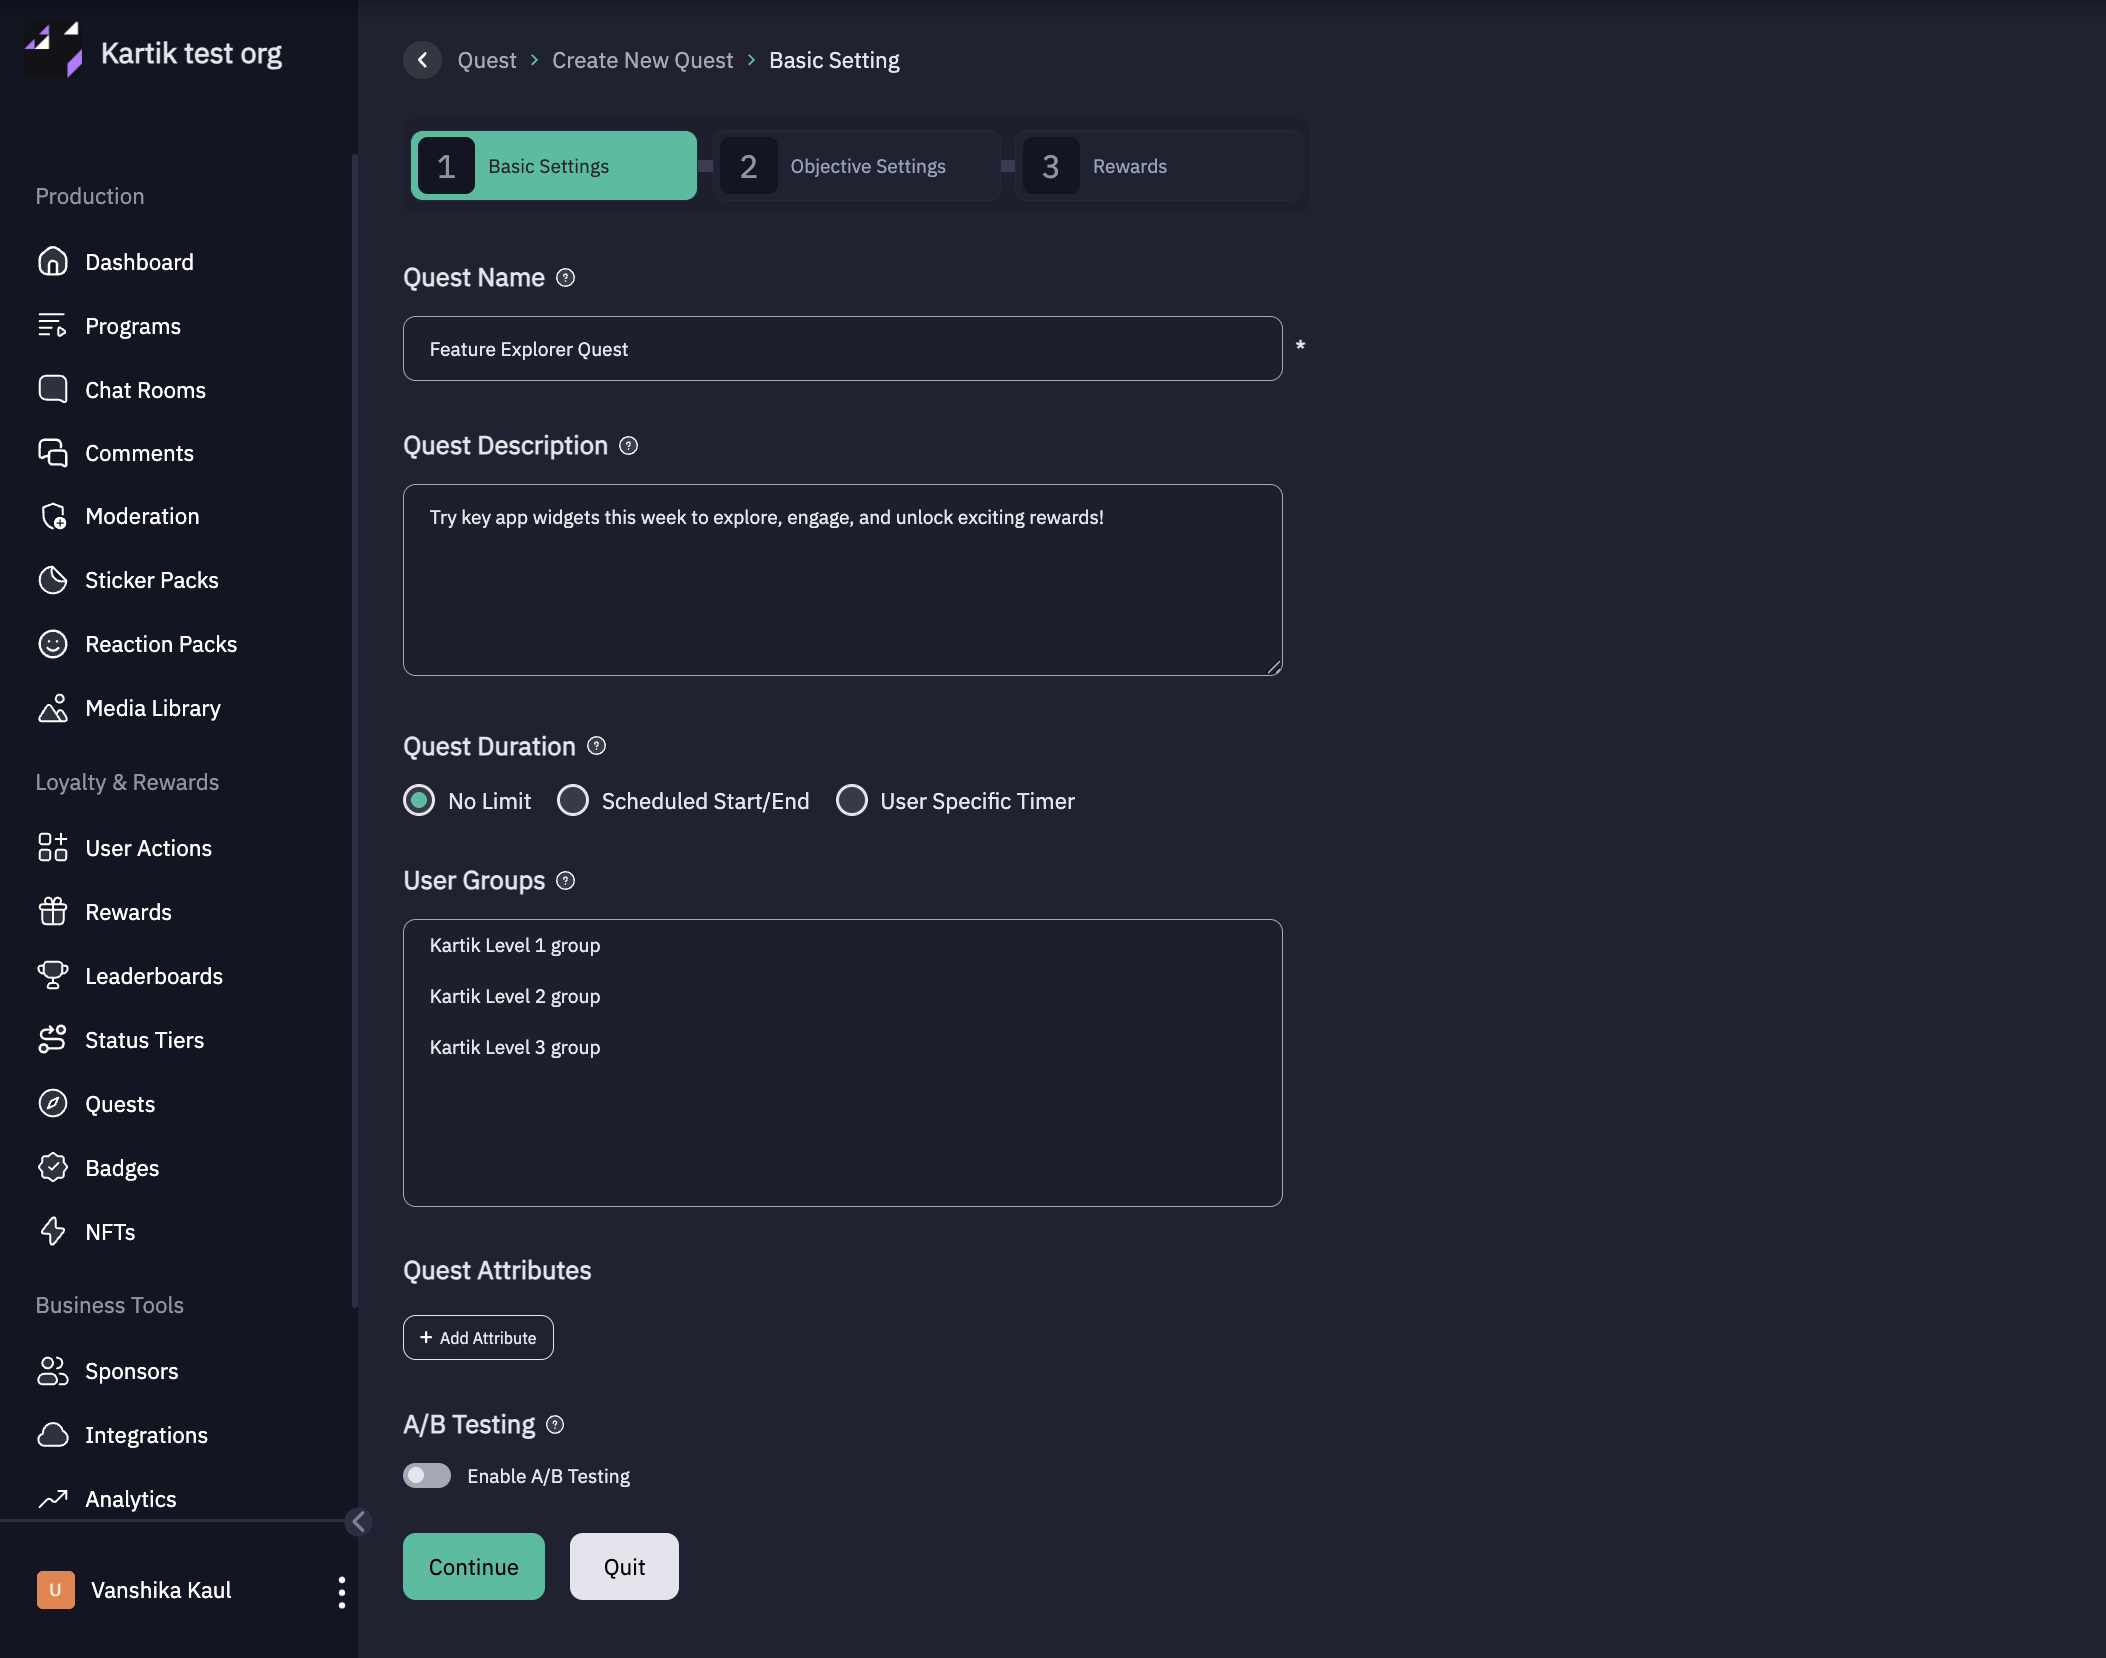
Click "Continue" to proceed.
3. Configure Objectives
Each quest consists of one or more tasks that users complete to progress.
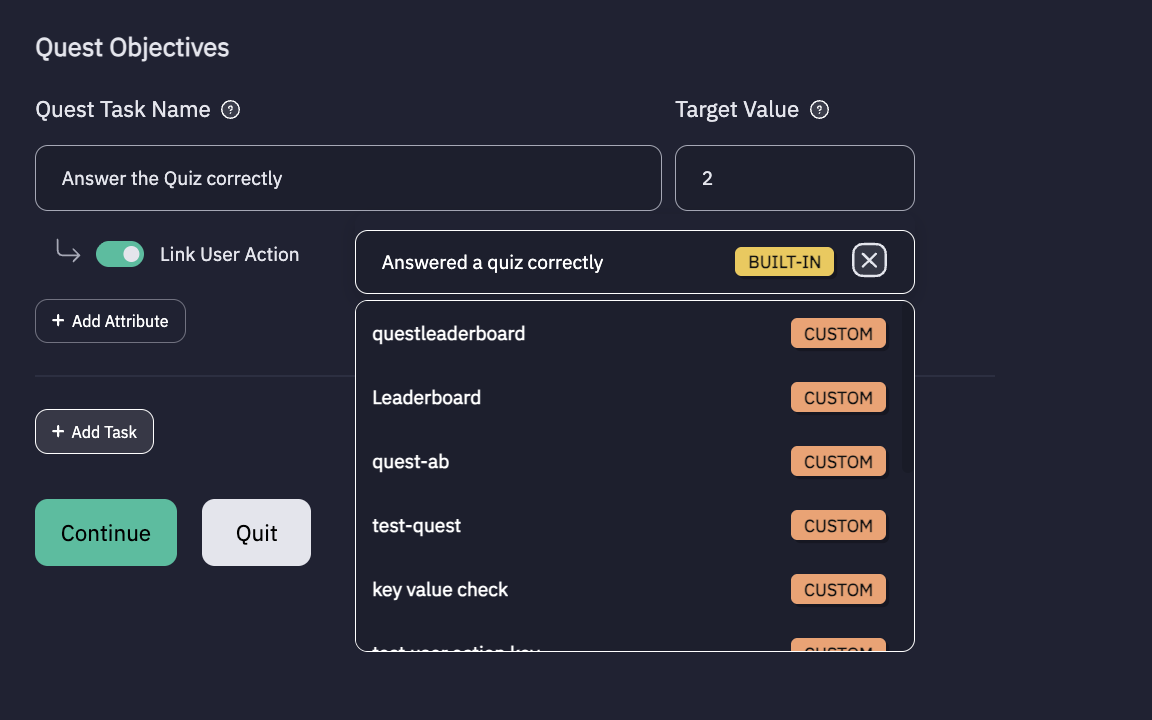
- Enter a Quest Task Name (e.g., Answer the Quiz Correctly or Make a Prediction).
- Set the Target Value – the number of times a user must complete the task.
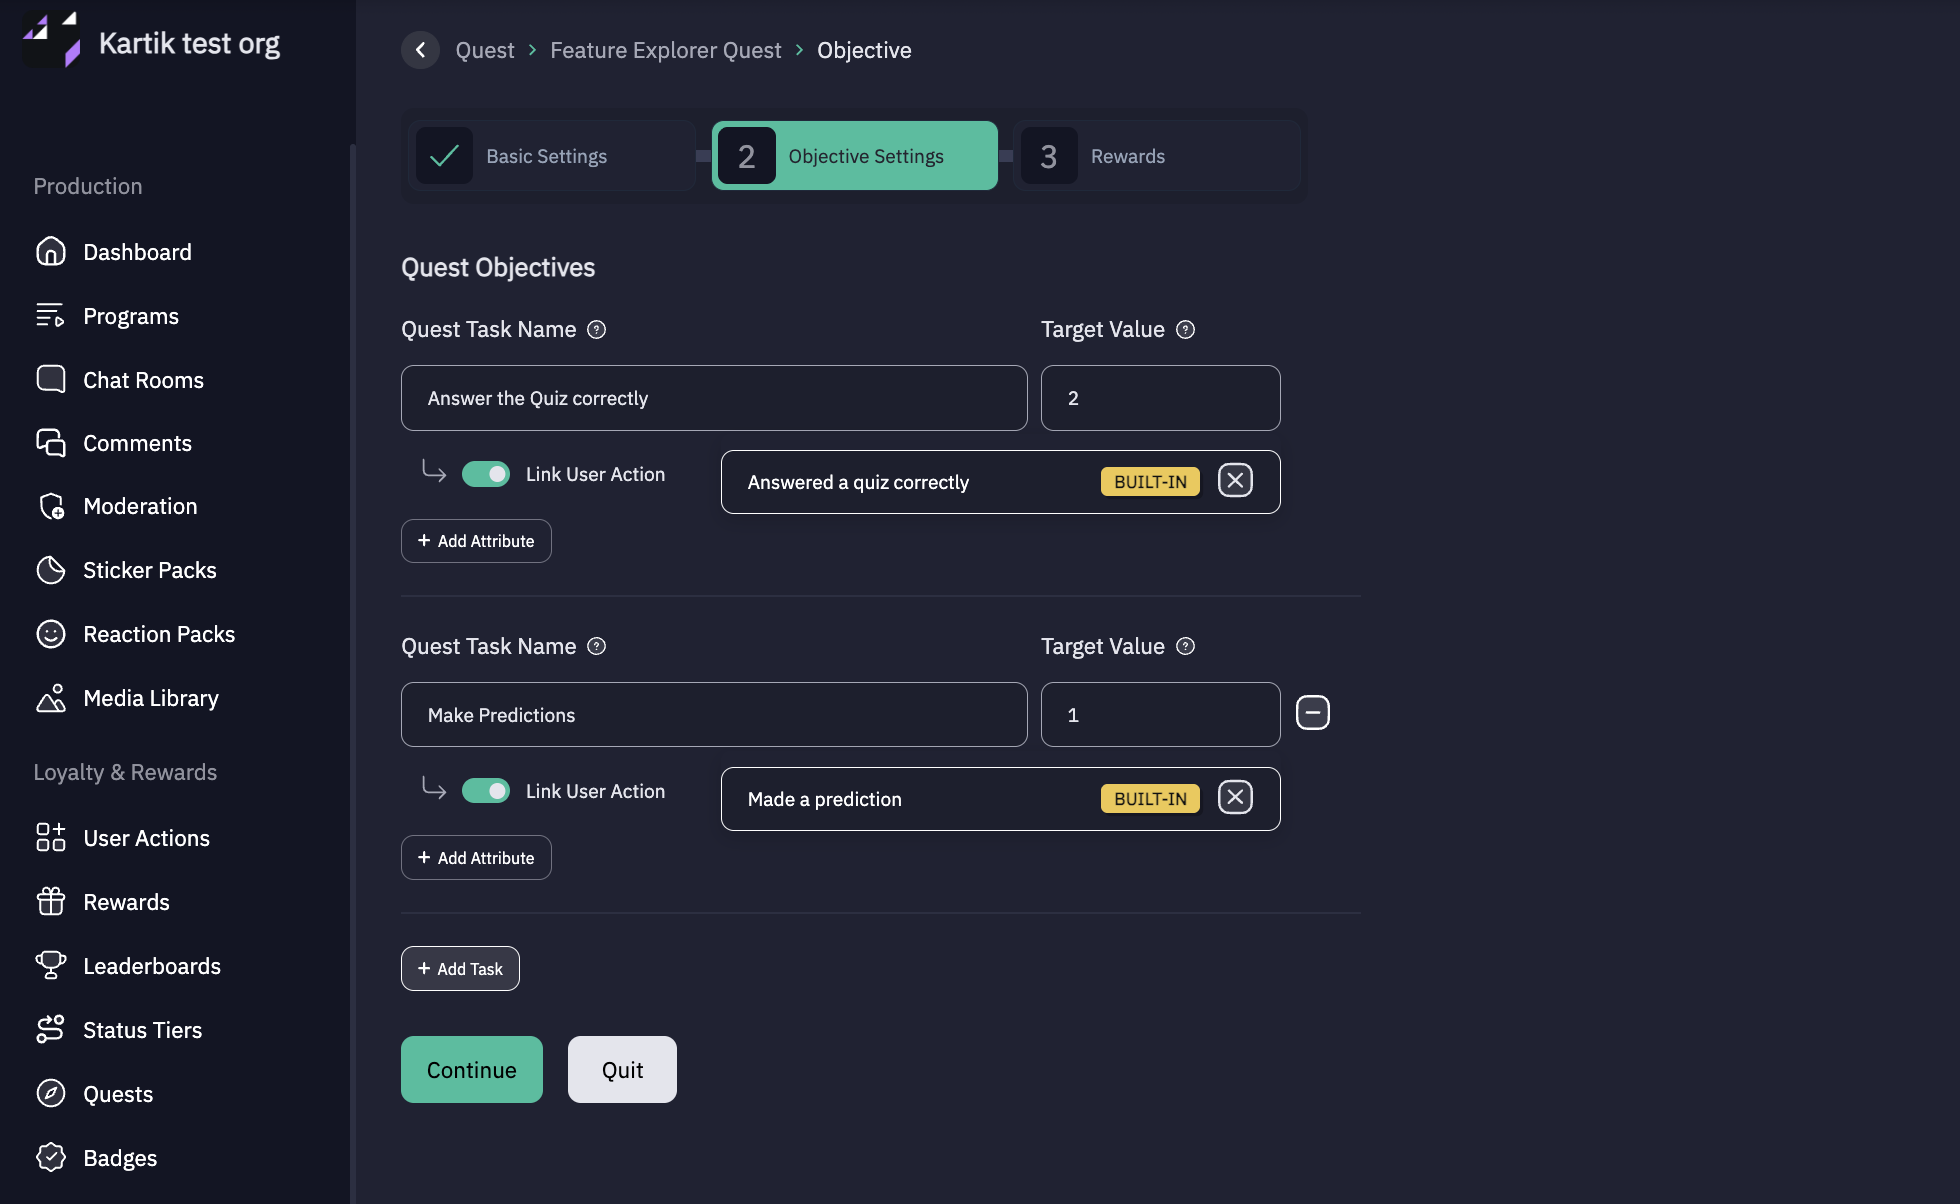
Pro Tip: Use actionable task names, e.g., “Answer the Quiz Correctly,” instead of generic names like “Quiz.”
Enable Link Action
- Use the dropdown to select or search for the action you want to link to this task.
To add another task, click + Add Task and repeat the steps.
Then click "Continue".
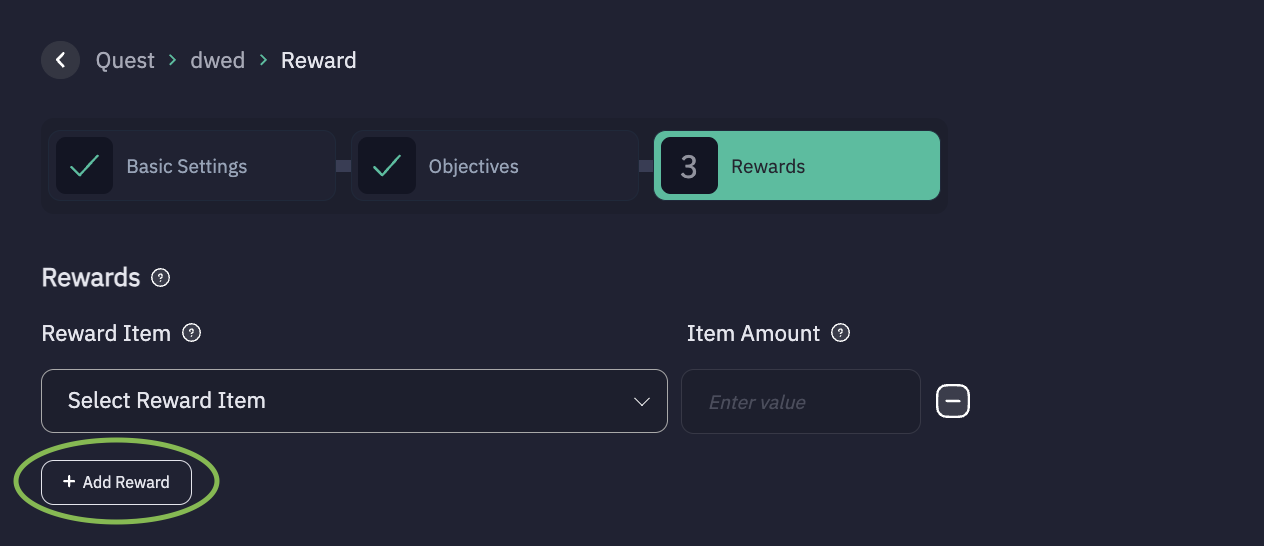
4. Configure Rewards (Optional)
You can reward users upon quest completion.
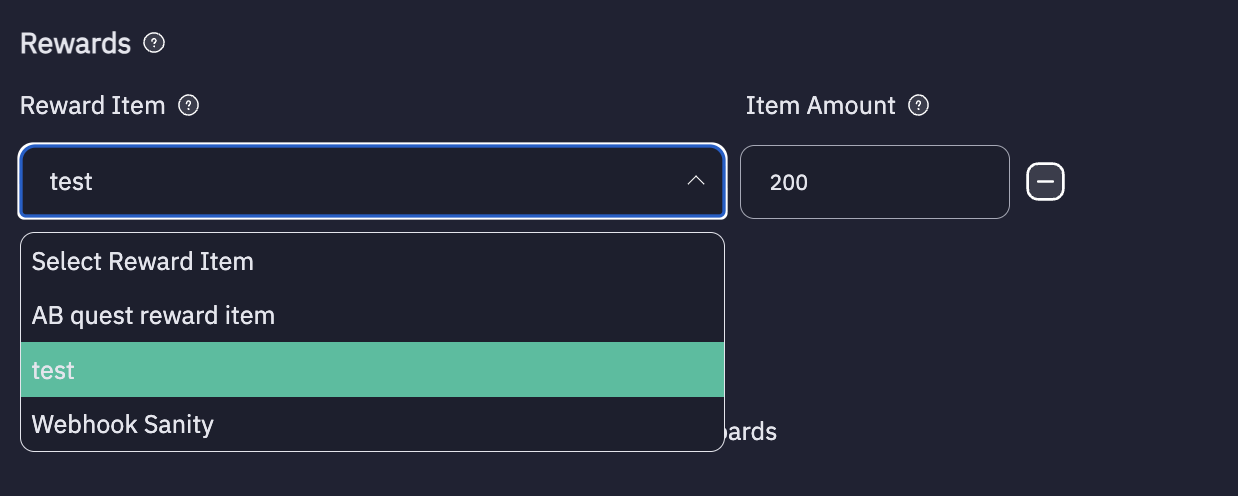
- Choose a Reward Item from the dropdown.
- Enter the Item Amount.
To add another Reward, click "+ Add Reward" and repeat the steps.
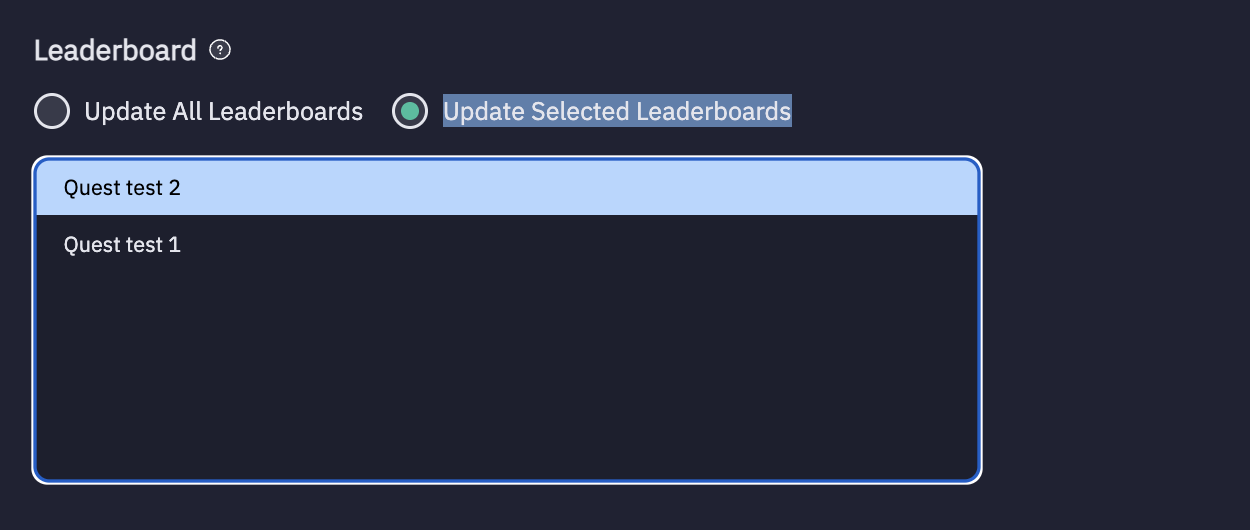
Add to Leaderboard (Optional)
- Select Update All Leaderboards or Update Selected Leaderboards.
- If selecting specific ones, choose them from the dropdown.
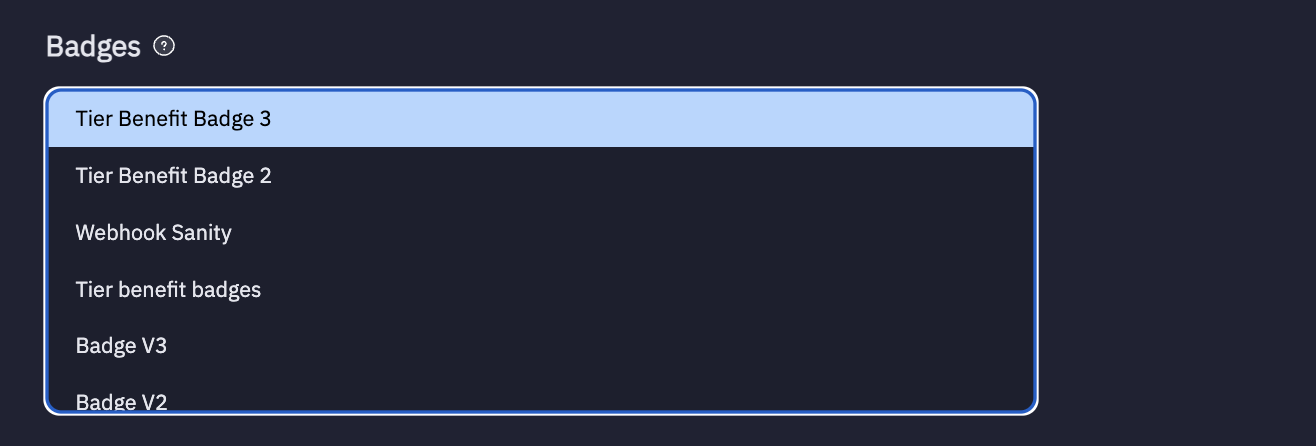
Add Badges (Optional)
Choose a badge from the Badges section.
Add Sponsors (Optional)
Enable the Sponsors toggle, then select the sponsor you want to include.

Publish or Save as Draft
Once all details are configured:
Click Publish to make the quest live immediately.
Tip: Always double-check task consistency and reward setup before publishing.
Or
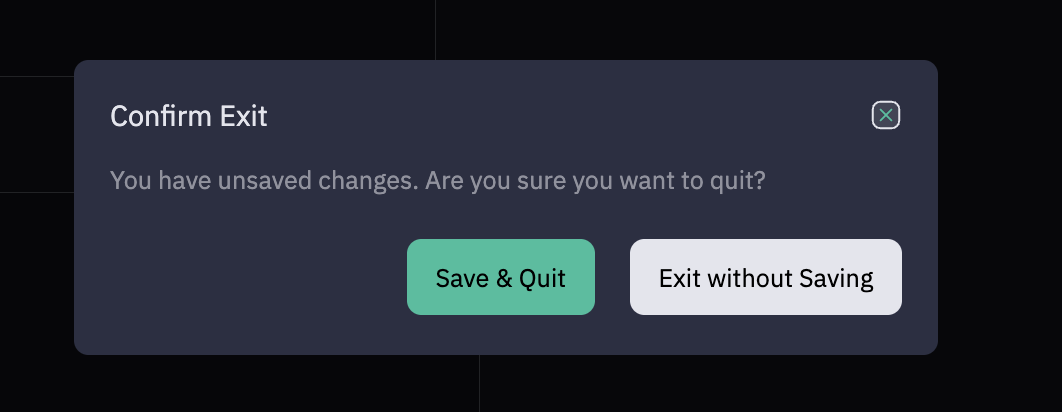
Click Quit, then choose:
- Save and Quit – to save progress as a draft.
- Exit Without Saving – to discard changes.
Your quest is now ready!